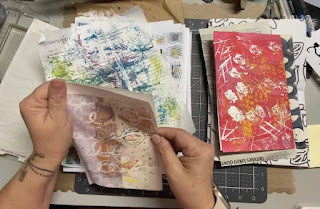
I bet you forgot all about this project...well guess what? So did I. I've got so many projects going on because of the craftroom overhaul and this one took a backseat. But I finally decided to work on it and sew in the signatures!
I gathered 10 pieces of paper together for each signature which makes 20 pages for each signature and this journal will have four.
If you missed the first post, be sure to read/watch THIS to see how the cover and the signatures were created.
Now to stitch them into the journal. I added a layer of duct tape to the inside of the spine to add some more structure to it. I feel pretty confident that this is secure enough to hold all the signatures & any additions as the journal grows. How fun is that zebra print?!
I used a scrap piece of paper the same size as the spine and drew four lines so I knew exactly where to place each signature and to keep them relatively straight.
I decided to use 3 holes for the binding stitch since it seemed the easiest (to be honest) for this stitching step. I punched the holes by using this hole punch from Martha Stewart. This was gifted to me from a friend who was getting rid of supplies.
Watch the process on this YT video:
I am by no means a pro at this. I'm learning as I go and I watch YouTube videos too. This style worked for me and I hope it works for you as well. Either way, it's fun to see something created from nothing and I hope you agree. I may end up covering the spine or adding ribbon but I haven't decided yet.
I haven't really played with my paints and other fun mediums and I am looking forward to it. It's so freeing and I love it!


No comments:
Post a Comment
Thanks for visiting. I appreciate your comments. I love sharing my projects with you and hope to encourage you to create things on your own. Thanks again!