Monday, May 30, 2022

Explore Layout

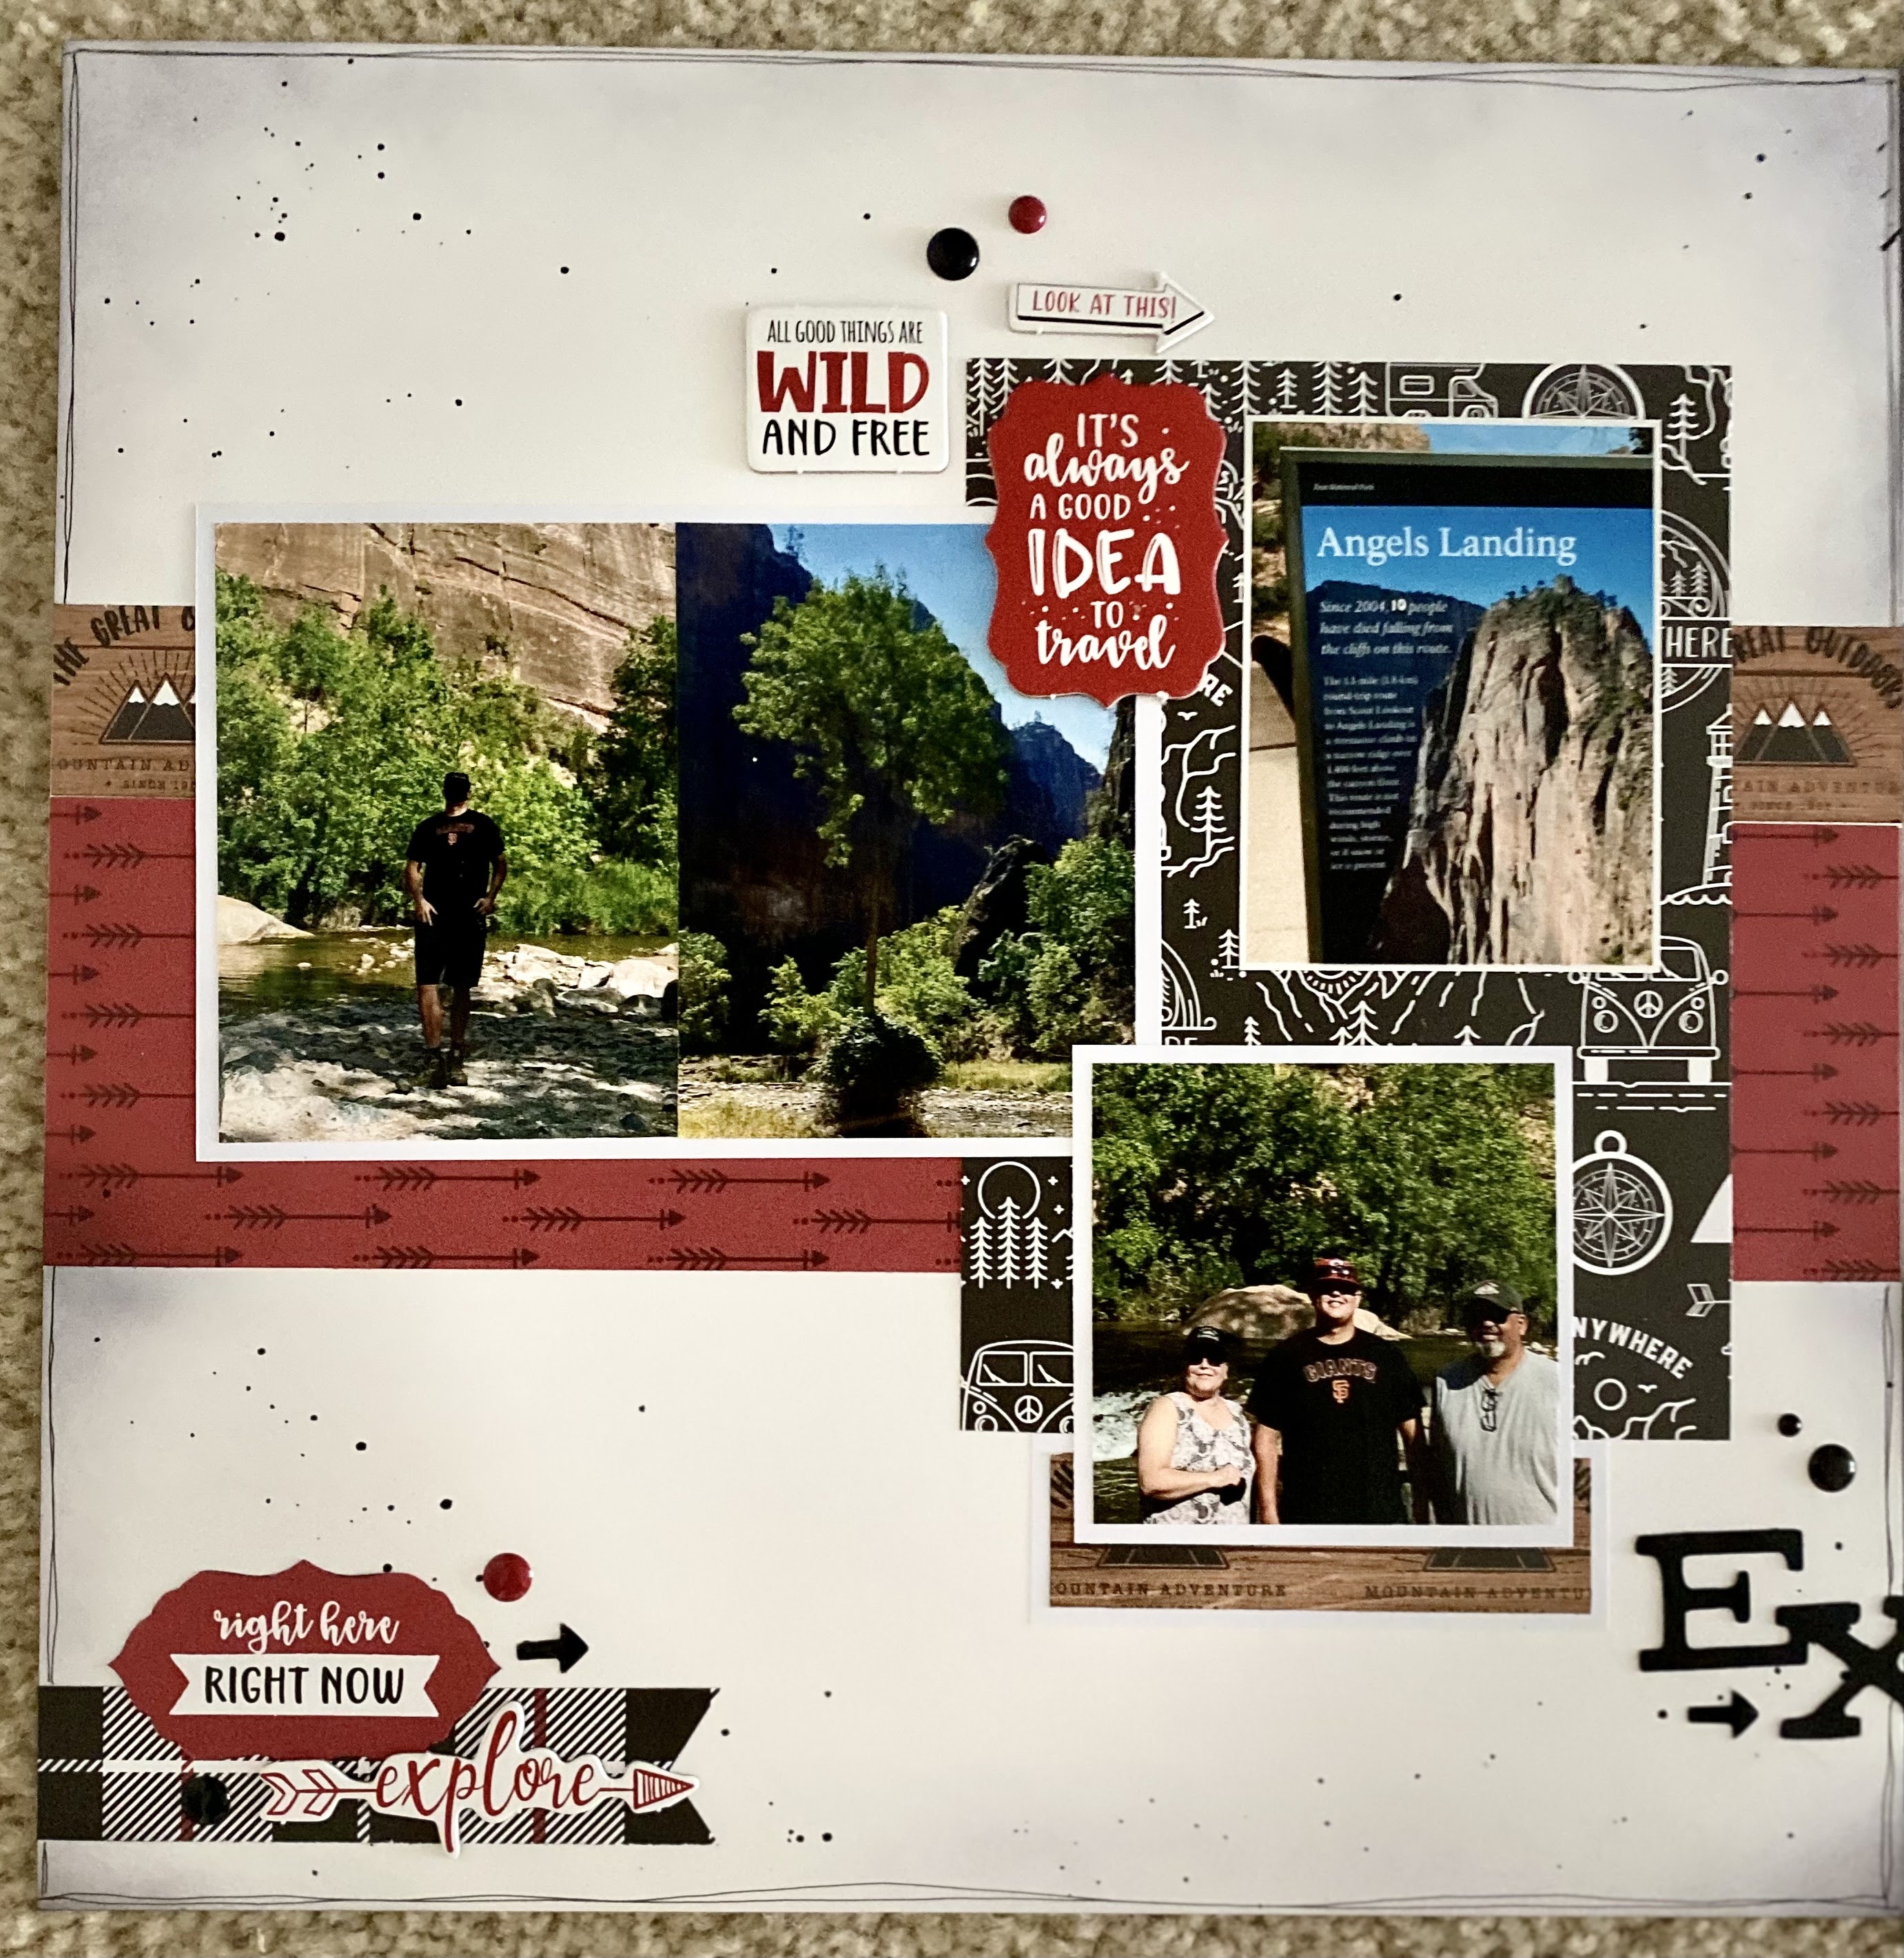
I created another great two page spread of our Zion National Park trip. I took so many photos but I couldn't help it!  It was so beautiful and I wanted to capture everything!

When I saw this cute line called Let's Go On An Adventure from Echo Park, I knew I had to have it. Nothing in the hiking scrapbooking kit that I created had red in it but what the heck! Check out the quick video below to see how easily it was put together.

Unfortunately, I just talk about it and not show you. I thought about filming it after I completed it!  LOL

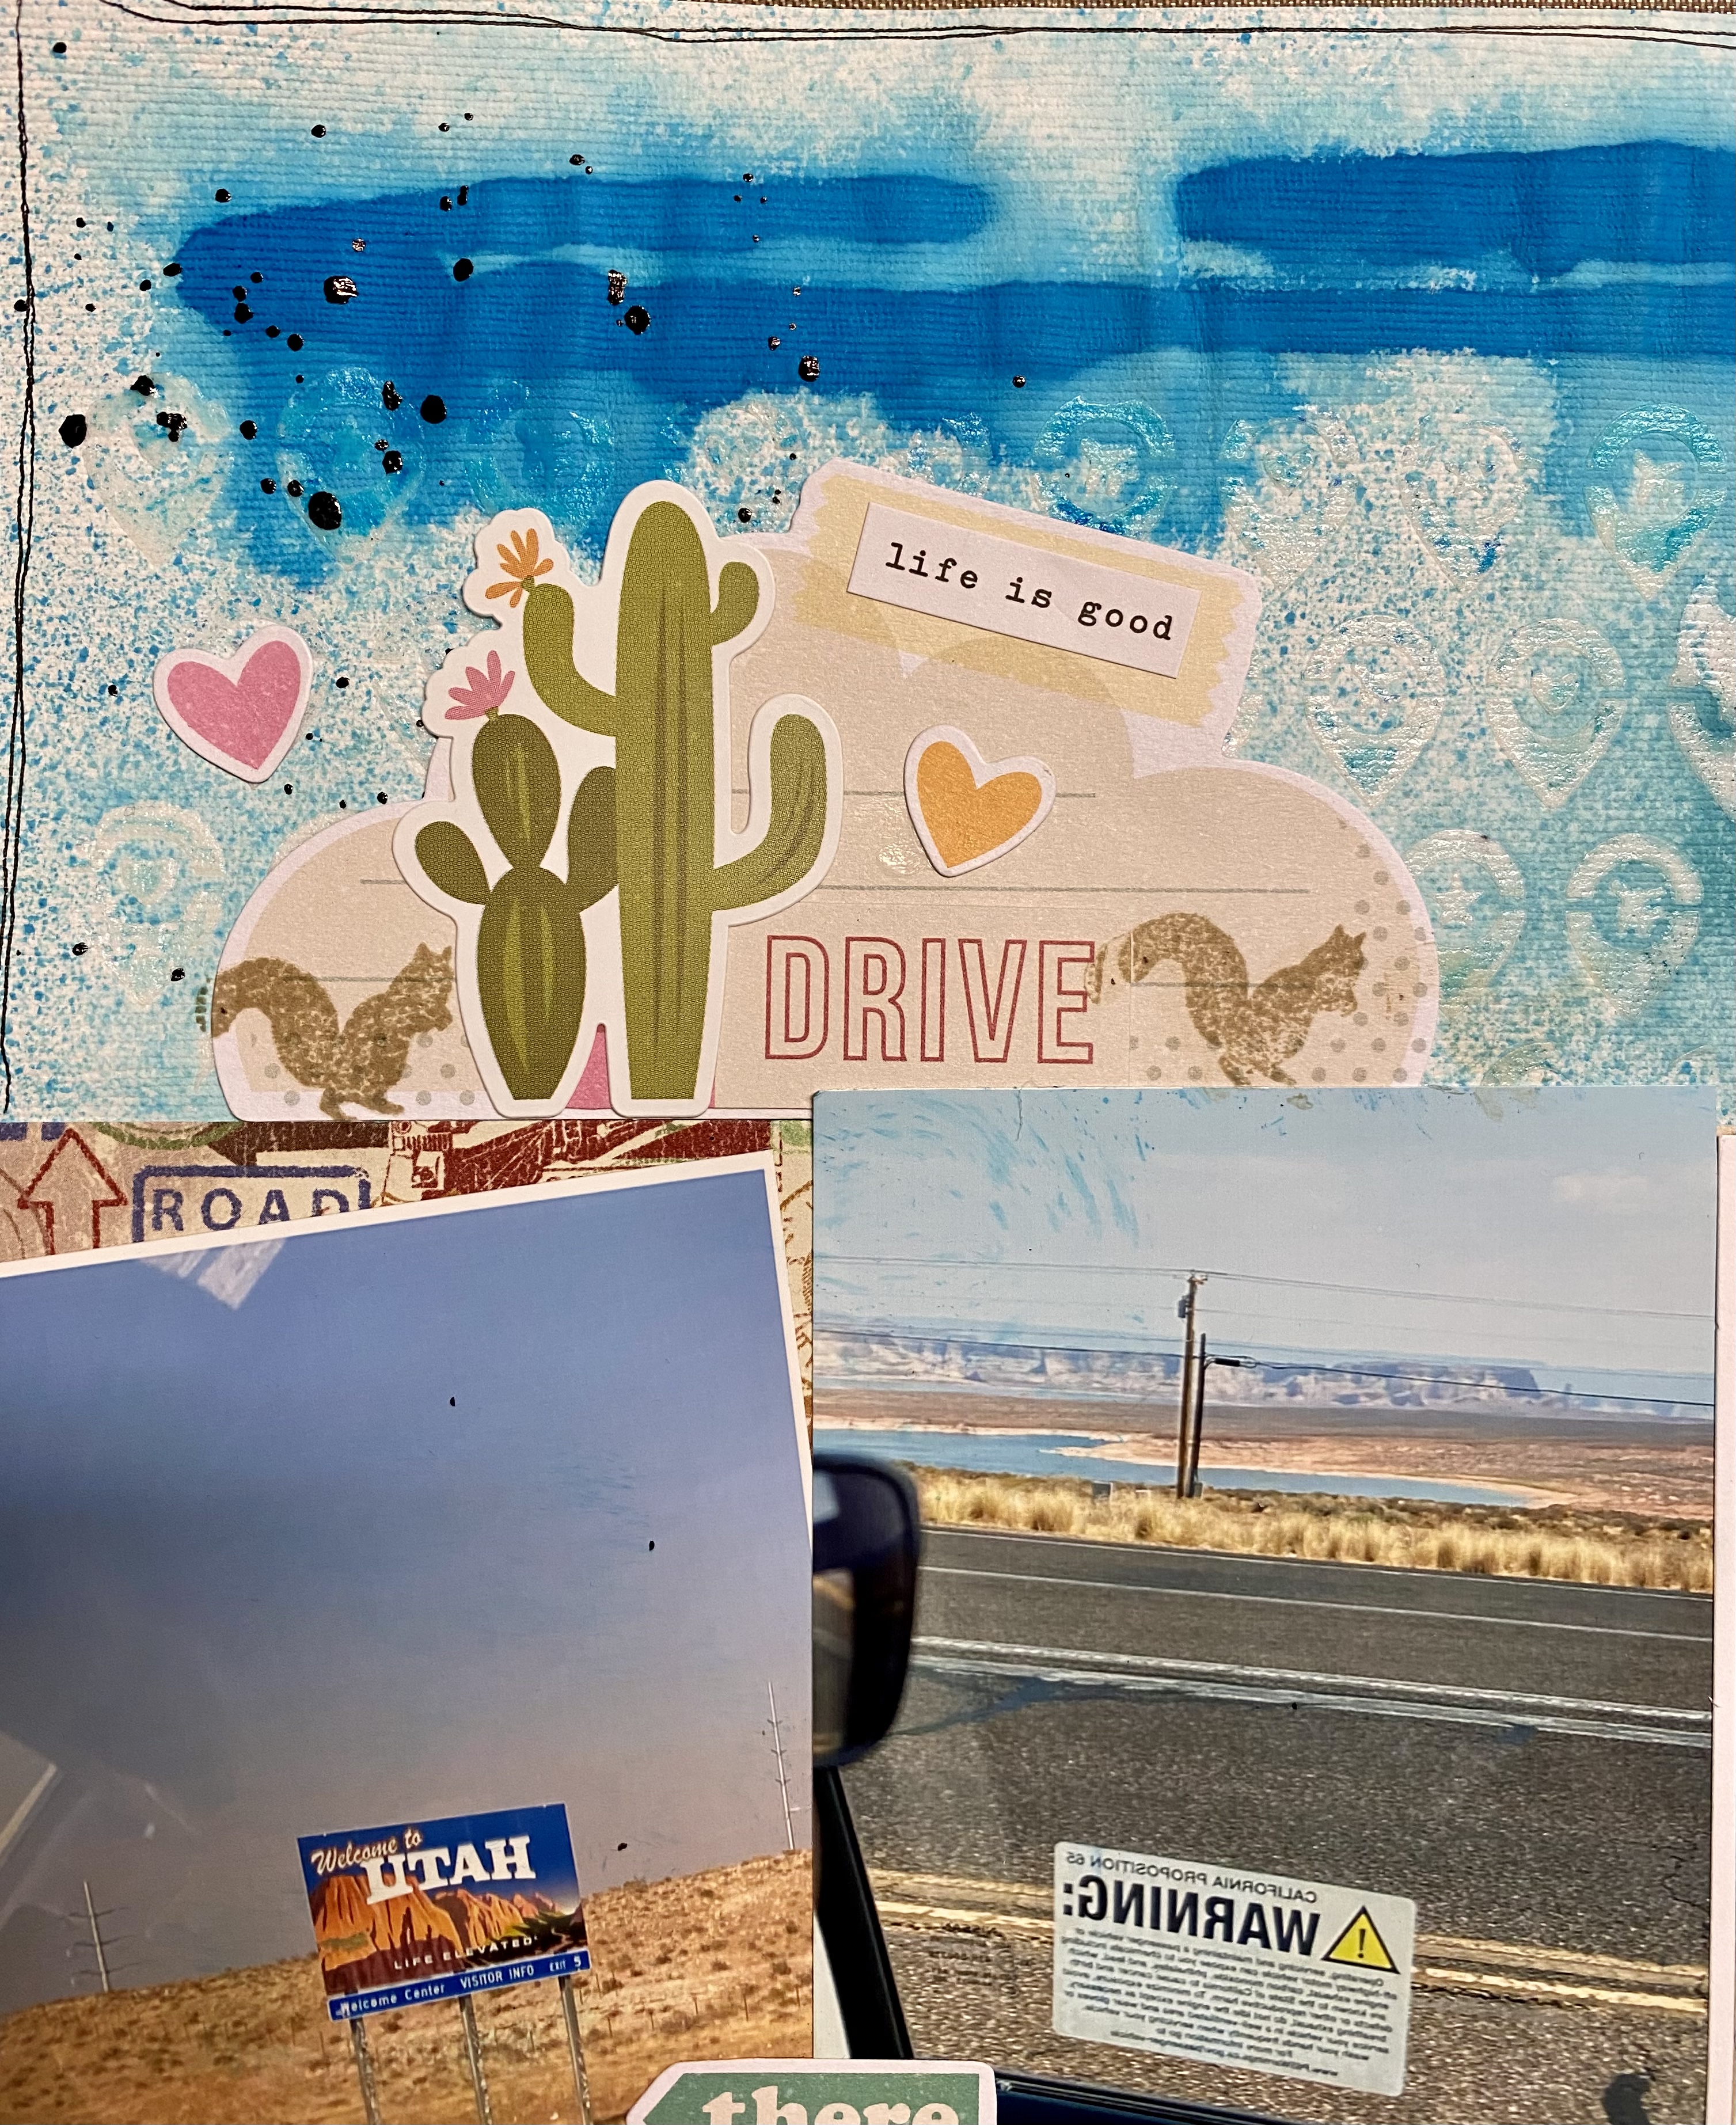
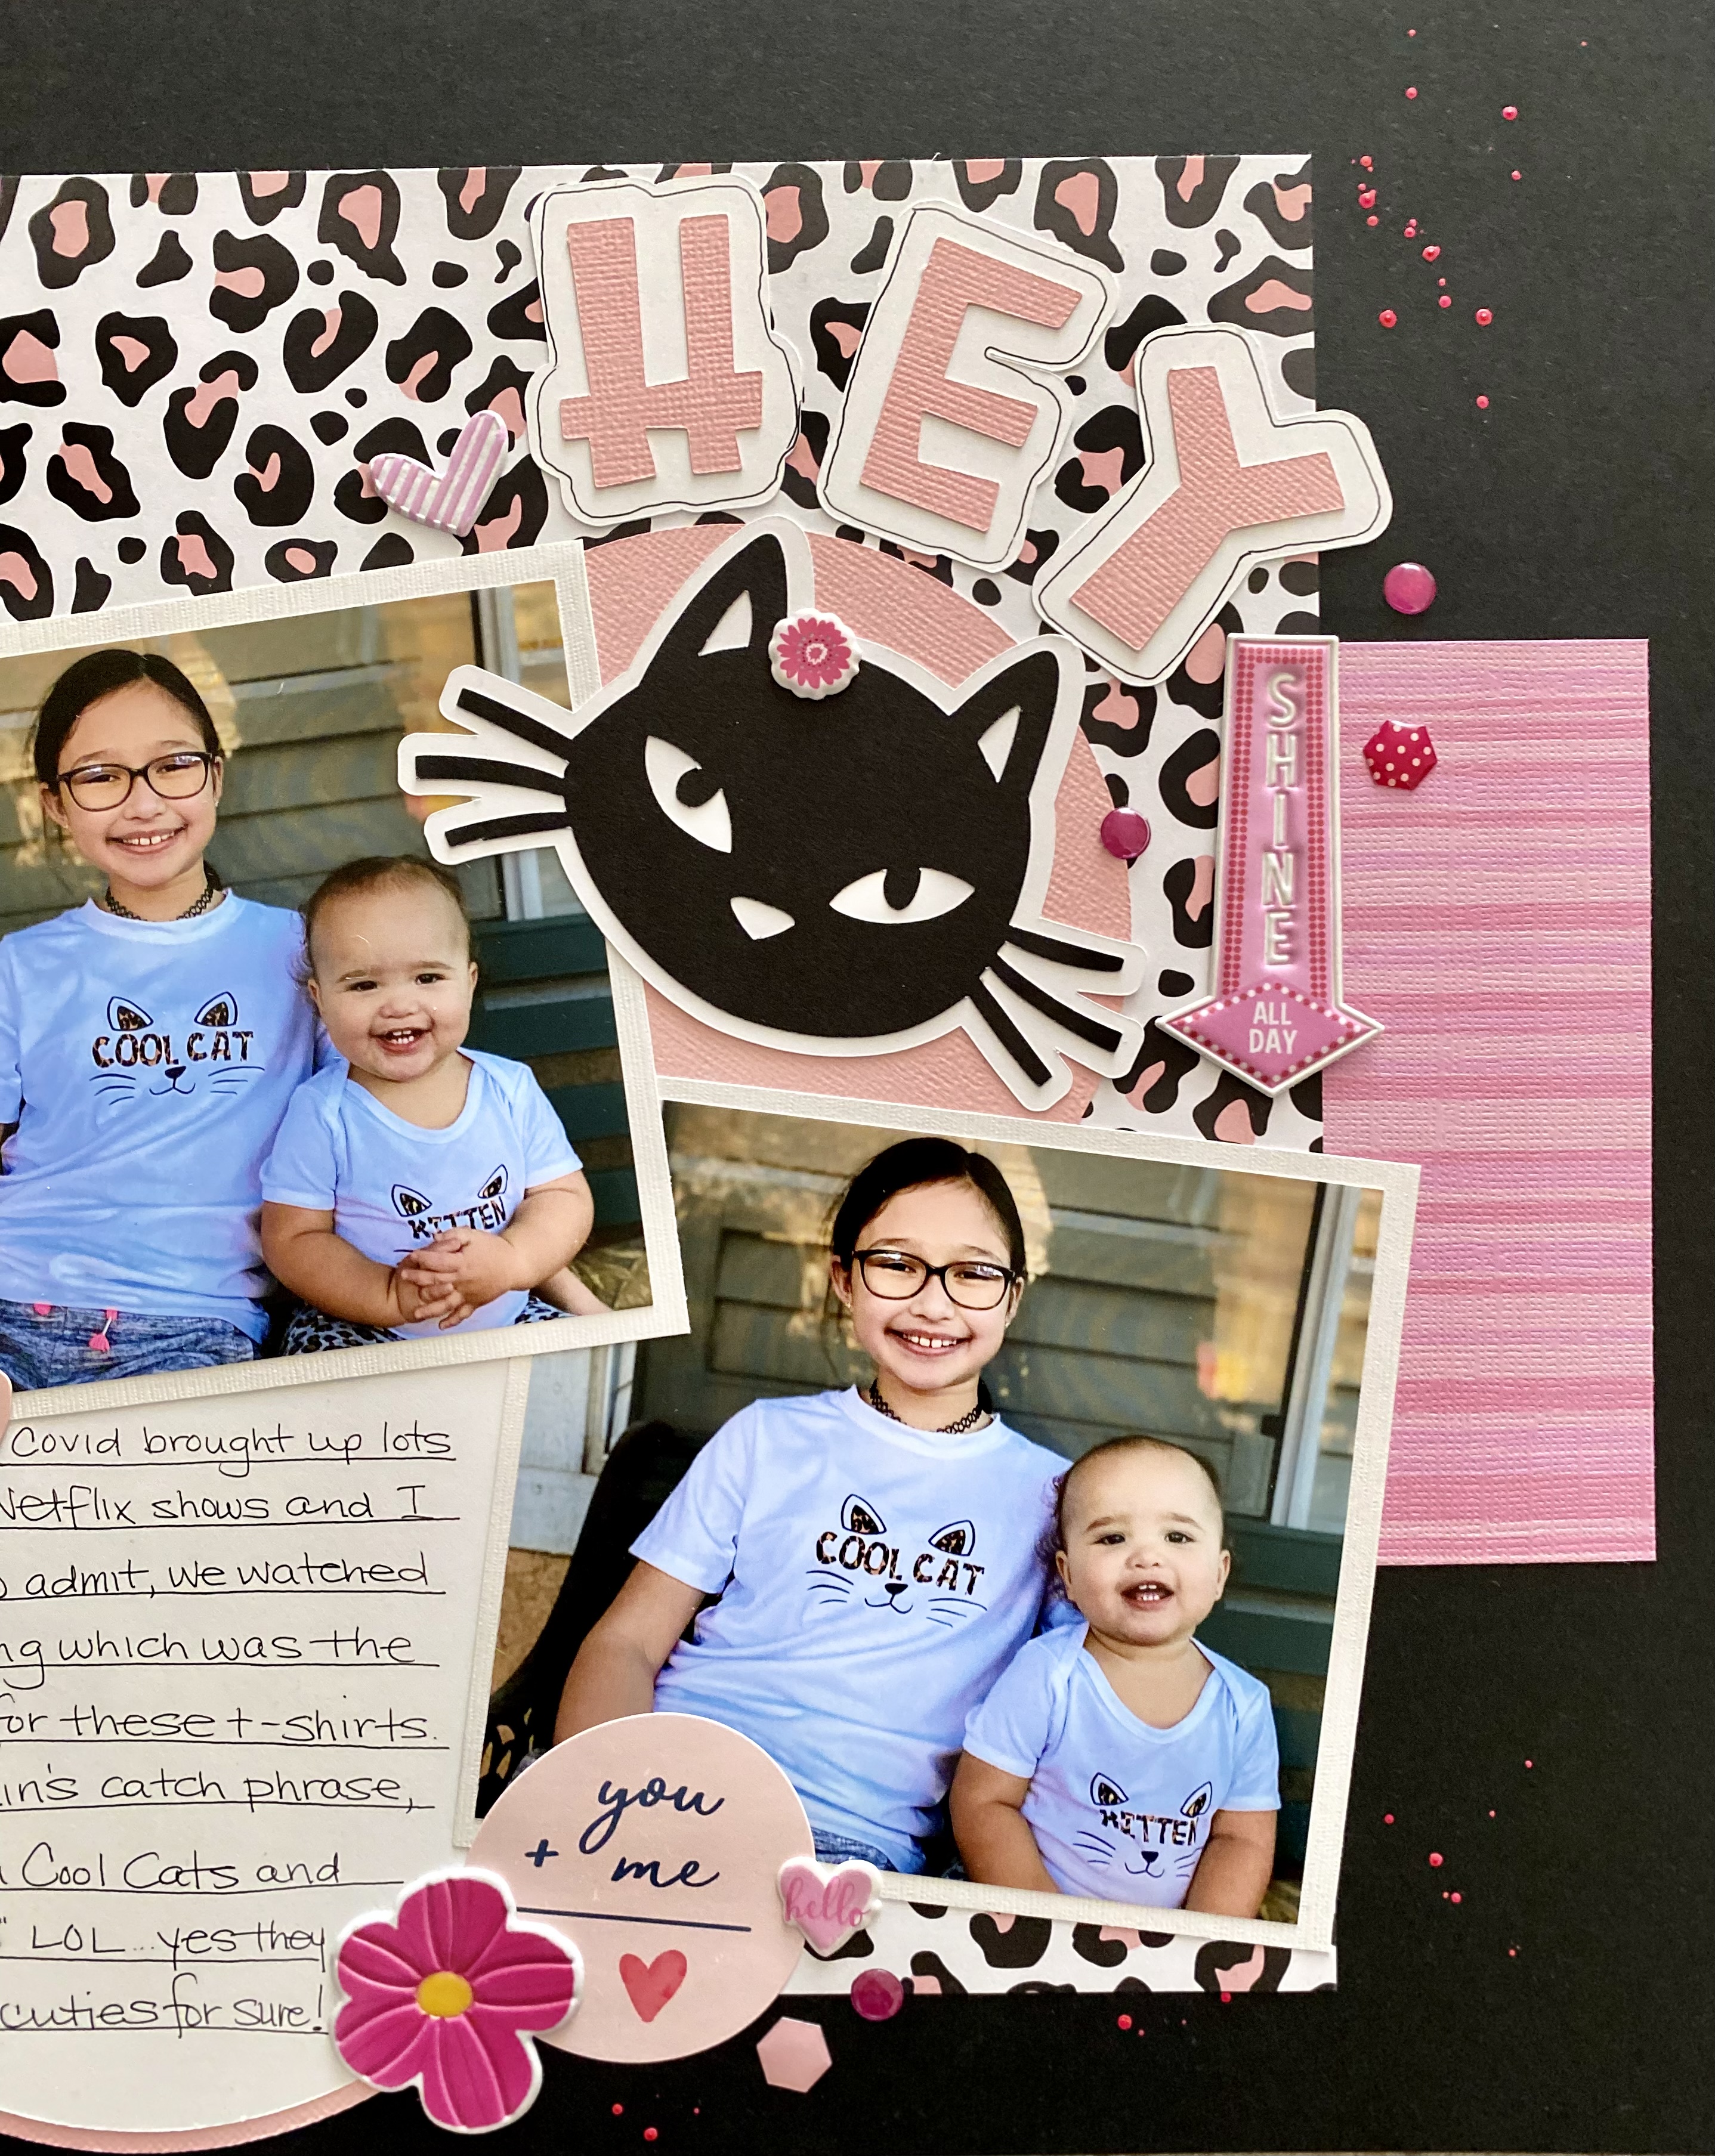
Here are the final pictures:


And here is the quick video:

This one was a little different from the other layouts since I grunged it up and of course the color scheme. But I love how simple it is and the added deer!
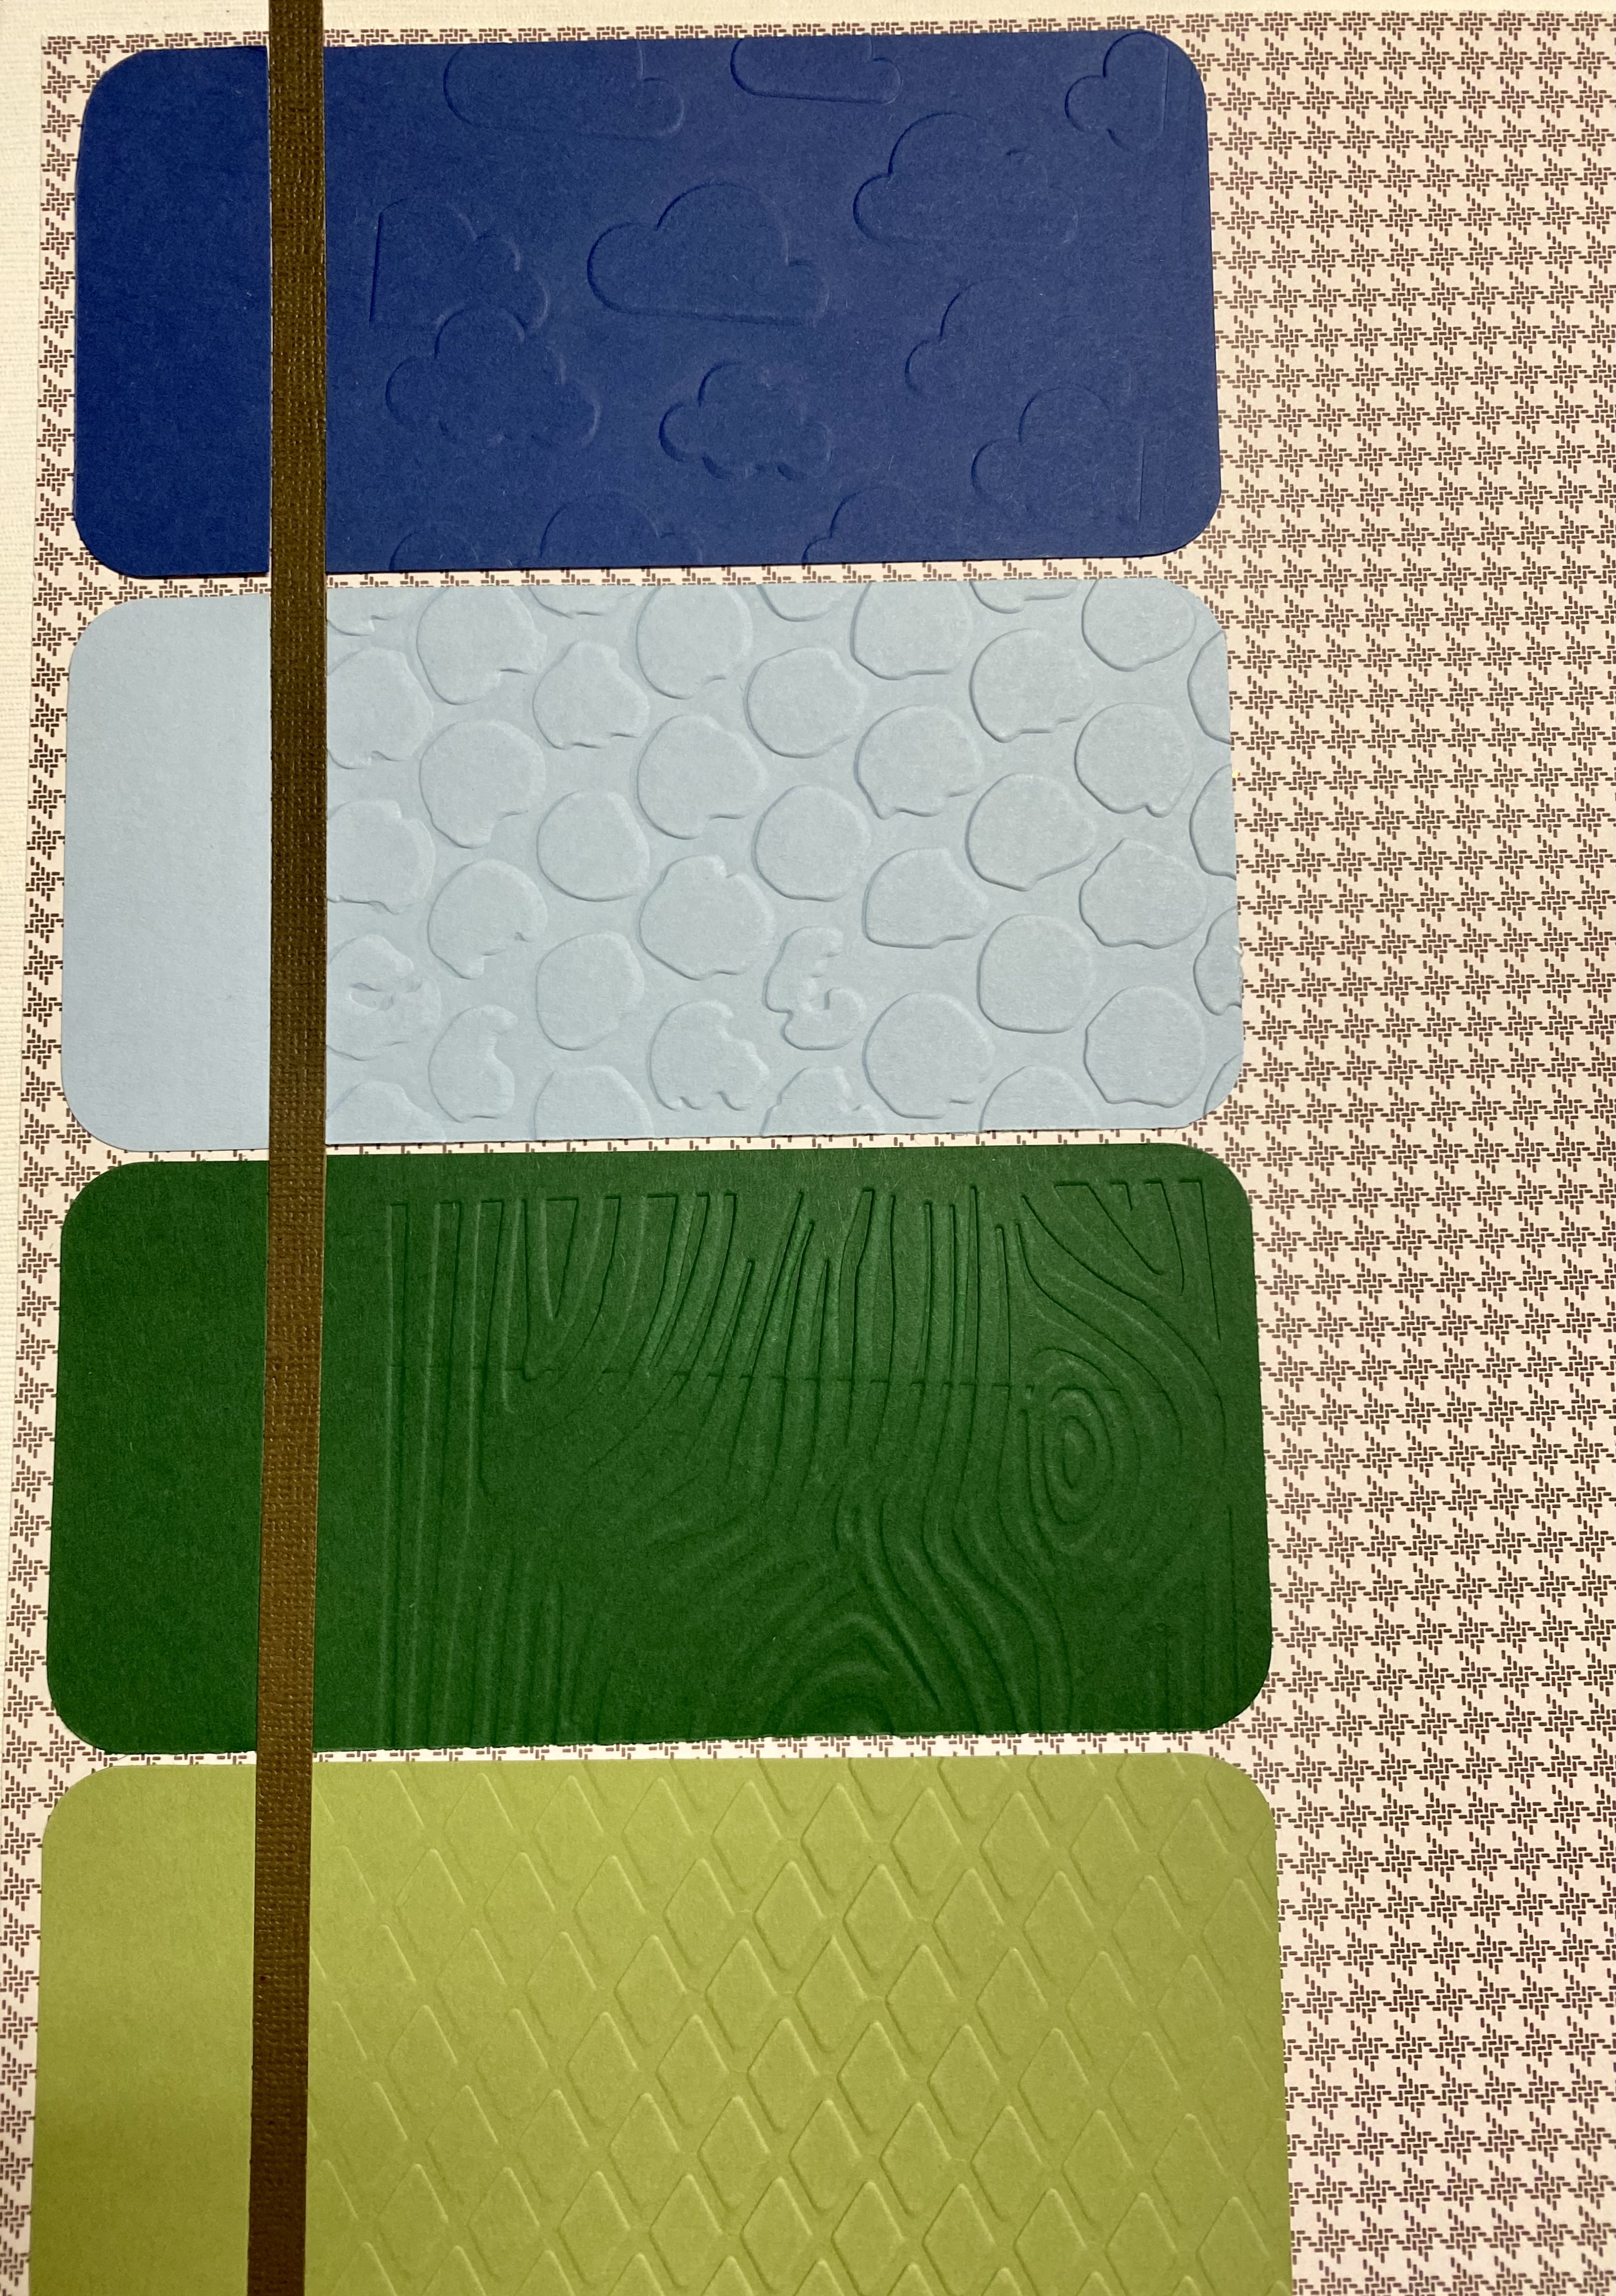
Measurements:
Red Arrow Strips are 3x12
Woodgrain Strips are approximately 1.5"
Black/White paper on the left is 5x7 and on the right is 4x8
The banners were cut with some left over pieces.


Friday, May 27, 2022

TGIF; Thankful Friday #223


Hello crafty friends! Today is Friday and I AM THANKFUL! It's been a busy week but a good crafty, busy week. There is so much going on in the world right now and it's nice to be able to sit in my craft room and just create, watch some Supernatural and eat peanut M&Ms. 

This week I'm thankful for upcoming holiday. I need an extra day to just be.

What about you? What are you thankful for this week? Feel free to share it in the comments!

Thursday, May 26, 2022

Believe in the Magic of Christmas Layout

I'm working hard on completing 2020 and I'm almost there. I created the layout in the first photo for a sketch challenge but I had so many more photos and I wanted to make this a two page spread.
 
I made some slight changes to it and the finished two page spread now looks like this:


See the YouTube process video here:

I don't show it in the video but this two page spread has 12 photos all together. The right side top two photos, I added flip flaps to include more photos and journaling.

I know the background is pretty busy, the white borders around the photos help them stand apart from the patterned papers. And that paper from Teresa Collins is FAB U LOUS! The titles and Santa were all cut using the Cricut and Design Space.

The red checked paper was from my scrap bin and didn't have any more of it. I added that small piece of the Santa paper to make it flow but after I did that, I realized I probably could have just replaced the red checked paper with the Santa paper - but hey, I still like it! Both of those strips are approximately 3".

Be sure to check out the video, give me a thumbs up, leave a comment and hit the subscribe button if you're not already a subscriber.

I post at least two videos a week and one will always be scrapbooking.  The second will be whatever I'm creating in the Command Center which is the name of my craft room (and of course, this blog).

Tuesday, May 24, 2022

Messy May; MCK Bags

Well, I'm glad that I decided to start a Messy May series this month because I'm having a lot of fun getting messy!  I needed more bags for my Monthly Card Kits so I made some.

Close ups of the bags:


Aren't these fabulous?!  I was gifted this large white butcher paper roll and love how I am able to make my own bags with it.  

The YouTube video:


If you are interested more in my Monthly Card Kit, click on the tab from the home page. 

Products Used:
Stampin Up! Products:  Highland Heather and Pale Plum ink pads, Flowing Flowers and Gorgeous Grunge stamp sets
Fun Stampers Journey/Spellbinders Products:  Sweet Berry, Green Olive and Pineapple Smoothie acrylic paints
 

Saturday, May 21, 2022

Birthday Bash at SNS


It’s a party all month long at Sketch n Scrap and you’re all invited! I worked on this layout with Birthday Bash sketch #2
Here’s my layout:

And some close ups:


I posted earlier that I made another layout using another sketch to make these two coordinate with each other. Here’s the link to the other post. And here’s a picture of both of them together.


You can also check out the process on my YouTube channel 

Be sure to click on over to the Sketch n Scrap challenge blog to see the DT projects and link your own project!


Friday, May 20, 2022

TGIF; Thankful Friday #222


It's Friday and I'm thankful! This has been a busy week but a good one. This week I'm thankful for my Book Club ladies. I'm reading books that I may not have selected on my own and it's pretty cool. Book Club is also an excuse to go out to eat once a month on a random Thursday!

Do you like to read? Do you have a book recommendation? I'd love to hear it in the comments.

Don't forget to think about what you are thankful for this week - share your story below!

Happy Friday! 

Wednesday, May 18, 2022

Scrapbooking in 2022; Layout Count

I don't normally count the number of layouts I create during a certain timeframe, but I was asked recently how many layouts have I scrapped in 2022. I don't know! I scrolled through the blog and checked some other groups that I post in and I believe that number is...


I'm sure it's off by a few and I'm really not sure why I don't blog or post all my layouts but most times I don't think about it. How about you? Do you count the number of layouts you create in any given time?

Here are a couple of layouts that created but didn't post. As you can see, I'm finishing up 2020 and jumping into 2021. In the meantime, I keep my list of activities and dates to refer to when I finally get the chance to scrapbook the photos/events.


I used older Close To My Heart products for the JOY layout. I know it's simple but I love it! The title, swirls and birdies are all rub-ons. There are two patterned papers and white cardstock to finish the page.

I'm entering this layout in the Heart2Heart CTMH challenge blog. Check them out for inspiration!

Happy scrapping!

Piece Craft Love YouTube Hop

I’ve never done this before but I decided to join a YouTube hop to celebrate Piece Craft Love’s celebration of 500 YouTube subscribers.

We were given a list of five items to create a layout with. You know I don’t usually do mixed media on my scrapbook layouts so this was a stretch for me but I wanted to continue my Messy May series so this challenge fit.

The Pick Five items for the hop were: texture paste, stencil, coffee, squirrel and aqua or some kind of blue. I may have cheated a little on the coffee since I used a Dark Roast splatter, but I just couldn't figure out how to incorporate coffee into this page!


Check out my process in the video and then check out the remaining hoppers by clicking the links here or in the information box in YouTube.

Here is the list of the AMAZING makers who are joining this hop:
Anna – Piece Craft Love
Kimberly – I’d Rather Be Scrapbooking

Close Ups of the clusters:


Now, if I'm being honest, I probably won't continue to use mixed media in my scrapbooking, but it was fun for this hop.

Details:
Simple Stories Going Places embellishments & sticker sheet
Squirrel stamps from Bloom Art Stamps (Tree w/Fruit)
Papers: Paper Studios; Travel Icons and Carta Bella Region Strips - Are We There Yet?
WR Memory Keepers Travel Light stickers
Stampin Up! Bermuda Bay ink refill
Transparent Texture Paste by Ranger

Oh yeah I forgot to mention that there is a GIVEAWAY! Piece Craft Love is an online scrapbook and crafting store SO once you've watched these videos, hop over and drop a COMMENT on the Piece Craft Love channel video to be entered to win a $25 Gift Certificate to the shop! (Open WORLDWIDE, shipping minimums apply)


Tuesday, May 17, 2022

The Narrows Layout for Cutcardstock.com


What do you do when you have over an inch worth of photos for one event? Well, you create a layout with only one photo! That's what I did here for our selfie photo while walking in The Narrows at Zion National Park.

I was inspired by a tutorial from Scrapbooking With AnnMarie for the base idea. I cut down a piece of 12x12 patterned paper from my stash to 11.5x11.5. Placed that on a piece of Wedding Cake white cardstock from CutCardStock. Then I cut four different color triangles at 3.75x5.5" and rounded the corners. The papers will be listed below.


Once I did that, I used four different embossing folders and embossed each piece.
I also cut a .25" strip of scrap brown cardstock for the border.

That is the base and now to work on the embellishment cluster.  I created a cluster using Design Space and my Cricut. I used ink and a marker to create some dimension on the cuts.

So far so good, but I knew it needed something more.
I added some stickers, splatter and another tree to complete the layout.  Be sure to check it out on the CutCardStock blog.


Cute, huh?! 

Products Used:
Basis Paper from Cutcardstock in Blue, Light Blue, Green and Olive
Wedding Cake white and black 12x12 cardstock from Cutcardstock
All other paper products were from my scrap bin or paper stash
Dark Roast Color Silk (splatter) from FSJ or Spellbinders


Friday, May 13, 2022

TGIF; Thankful Friday #221


Happy Friday y'all! Friday...Friday...Thank God It's Friday. It's been a week and I am tired. This week I'm thankful for my daughter. She doesn't always make dinner but she made dinner two times this week and it was so helpful!

She received a free trial for one of those delivery meal prep services and took advantage of it. Monday we had fancy mac n' cheese and Tuesday shrimp tacos. Hubby BBQ'd steak and baked potatoes on Wednesday and last night we just didn't eat dinner. (Long story, but it's all good!)

Thanks again to my daughter for taking care of dinner this week!

How about you? What are you thankful for this week? Share below or just take time to reflect on how blessed you are no matter what kind of week you're having!

Enjoy your weekend!

It's Our Birthday at Sketch n Scrap!

It's Sketch n Scrap's birthday this month and we're celebrating with lots of sketches and fun! Be sure to click on over there for all the excitement!

I worked on this layout #188 and decided to make this one page layout flow into a two page layout using another one page sketch from Sketch n Scrap. Be sure to check out that layout too (come back on the 21st to see that one!).


I have so many photos from our Zion trip even though we were only there for two days. It's a gorgeous place to go! So, the title "Rocks" comes from the saying, "Utah Rocks" and unfortunately, the other sketch has the left side of this two page spread. It'll all make sense when you see both together! I used the same papers and embellishments so they coordinated perfectly!


The wood slices were cut with the Cricut and the rest are using elements that I gathered for my hiking album.

And be sure to click on over to Sketch n Scrap for inspiration!


Thursday, May 12, 2022

Messy May Series II

I guess I need to create a series in order to work in my Junk Journal on a consistent basis! So here it is...Messy May!

Check out the process video below on how I changed an "unfinished" spread to the final pages.

I love how even though I covered the pages with white gesso, the bright colors still peek through.


Here's the "unfinished" spread and how it all started:

The quote was found on Pinterest. I created a board to hold any quotes that spark an interest and refer to it all the time. I hope the process video sparks some inspiration and you decide to get messy in May too!


Tuesday, May 10, 2022

Hey Layout

Hey all you cool cats and kittens. Does that sound familiar? Well I made these super fun shirts for my granddaughters a year or so ago using Infusible Ink and the Cricut. I’m barely starting to catch up with my scrapbooking and I finished this layout recently.

The pink striped paper was cut at 5x11 and the leopard print was an 8.5x11 piece. I honestly don't remember, but it looks like it was cut an inch off the 8.5" side so maybe 7.5x11??


I also filmed a process video for my YouTube channel. Be sure to check it out below.

The black cat face was cut using an image from Design Space and the random stickers were just that...random stickers I grabbed going through my sticker pile. Most were purchased on clearance at Hobby Lobby.

The circles were cut using my Old School Circle/Oval Cutting Tool by Creative Memories. This was one of the first tools I purchased when I started scrapbooking in 2000! It is lasting the test of time.

Be sure to subscribe to my YouTube channel as I post at least two videos a week and one will alway be scrapbooking and the other will be whatever I'm creating in the Command Center which is the name of my craft room as well as my blog.


Friday, May 6, 2022

TGIF; Thankful Friday #220


Happy Friday! This week I'm thankful for time with my sewing machine. I just recently realized that I really don't like to sew anymore. You know there was a time when sewing was my Number 1 but those days are gone.

But, I recently made a memorial pillow and blanket for a dear friend/comadre that lost her son in December. I was emotional while making it and I think that's why I procrastinated so long to start it. I haven't given it to her yet, but she saw the photos and loved it.

The pieces were made from his t-shirts. I'm so glad I was able to make something for her & their family.


How about you? What are you thankful for this week? Let me know in the comments!


Thursday, May 5, 2022

Masculine Cards - Mixed Media Style!


A friend asked me the other day if I had any masculine birthday cards and when I looked, I only had one...and now I have none! Why is it so hard to make masculine cards? I decided to challenge myself to make more and using a sketch from Sketch n Scrap made it so easy!

You know I love using sketches for my layouts, but they are just as convenient for making cards! I used this sketch for my card:

And here's my card:


To make this card, 
I used a masterboard that I had created some time ago. I added a little bit more black & white splatters plus some scribbles using a regular pencil. Then I cut them down to the panel sizes I needed. For this card, I had a 3" square plus a 4x5.25" panel. 
  • I matted both panels with black and added a second white mat to the 3" square panel. The cardbase is white so that was the white "mat" for the larger panel.
  • I adhered the car with 3D foam adhesive and placed it near the bottom right of the 3" panel.
  • Heat embossed the sentiment and cut them into strips before adhering to the card.
  • Added a metal "brad" to the left of the sentiment. 
The mixed media masterboard did all the work in this card! Isn't it super fun! There are other samples of cards that I made using the same masterboard. Click HERE to see the process video for these two.


Now it's your turn! Click over to the Sketch n Scrap challenge blog and create a card using the sketch!