A place to showcase my crafts and talk about it...what's better than that? I hope to inspire and encourage others to create things for themselves, friends and family.
Why not make two cards at a time? My card box needs filling and these were two quick cards!
The card mat was cut at 4x5.25 and the patterned papers are both 3.75x5” and then I marked 2.5” on the 5” side, cut from the top left corner to the marked spot to make one triangle and then from the mark to the lower left corner.
Please check out the YouTube process video
Ink Road Stamps were used but I couldn’t find the name of the stamp set.
Oh Friday, how thankful I am that you came along! This week has been busy.
My mom's in town so I had her over the weekend as well as DSS1 and DS1.
Saturday: Card making all morning with my DSS1 Sunday: Thrift Store shopping and Road Trip to DSS3's house to drop off my mom (DS1, DD and DGD1 all came along for the ride!) Monday: Finish two cards for May's Monthly Card Kit Tuesday: Monthly Card Kit LIVE Facebook Event and film Scrapbook Flip Through for YouTube Wednesday: Lunch gathering with retired coworkers & long time friends and in the evening pick up my mom from DSS3's home Thursday: Book Club Meeting and arrival of DSS1 Friday (today): Family Pizza Night and RELAX
I'm exhausted but so thankful for having so much going on. It was a lot if I'm being honest, but boy does it get me going. I'm so thankful for the fact that my siblings are near me and that we want to spend time together. I'm thankful for the group of retired coworkers & long time friends that are AMAZING - we laughed, we cried and everything in between!
I hope you have the opportunity to spend time with relatives and/or friends. They sure are good for the soul!
What are you thankful for this week? Leave a comment below!
In case you didn't know...I'm not even sure if it's still a thing, but when referring to your family, you put a D (for designated) and the second letter is whatever it is you're designating (SS for sister) and then the number if you have more than one. For example, I have three sisters so when talking about my oldest sister, I used DSS1. (I added the extra S since I already use DS for my sons.)
Boy, we had a lot going on in October, 2021. When I create Month In Review layouts, I usually try to get all the miscellaneous photos on one layout, but this month took two. That's ok, I love working with a two page spread layout.
Even though this was for October photos, none of the photos really had a fall feel so I didn't want to stick with the traditional fall colors and embellishments. I did use back sides of some Echo Park paper that I think worked perfectly. This spread used four different patterned papers! Since they all came from the same collection, they all work!
I think the best thing about this spread is the multiple photos and simplicity.
I say this all the time, but my favorite layouts are those that showcase my photos but also allows me to use the fun embellishments that I hoard, scratch that...purchase.
Check out the video to listen & see my thought process while putting this layout together.
Note: I still need to print a photo for the right side photo mat
Products Used:
Happy Fall patterned papers by Echo Park
Fall Die Cuts by Pebbles
Tab punch
Enamel dots
Dark Roast Color Silk (Splatter) by FSJ/Spellbinders
Gnomes are everywhere including this cute belated birthday card! I used a card sketch from Sketch n Scrap. They post two card sketches and two layout sketches every month.
I love that sketches give me a jump start on my projects. Be sure to click over to SNS blog or FB page to see the sketches and challenges.
My card:
The sketch:
YouTube process video:
More photos:
My card box needs filling so I created a second card:
I used my scoreboard to create the lines on the background on this one. Love it!
A variety of alcohol markers were used to color the gnomes and the patterned paper is from Stampin’ Up! It’s double sided! The bling on both cards are from Queen and Co.
Now it's your turn...create a card based on this sketch and link it to the Sketch n Scrap blog or FB page by the end of the month!
My Cricut has been busy chirping and cutting things for lots of graduation cards! It's that time of the year people! I received a request for seven graduation cards from my friend and I always like to make multiples to have on hand.
Here are a couple of them:
I love the different varieties of the cards. If you're an IGer, be sure to follow me @3sons_and_star. I don't always post YT videos and/or blog posts of my projects but I almost always post on IT.
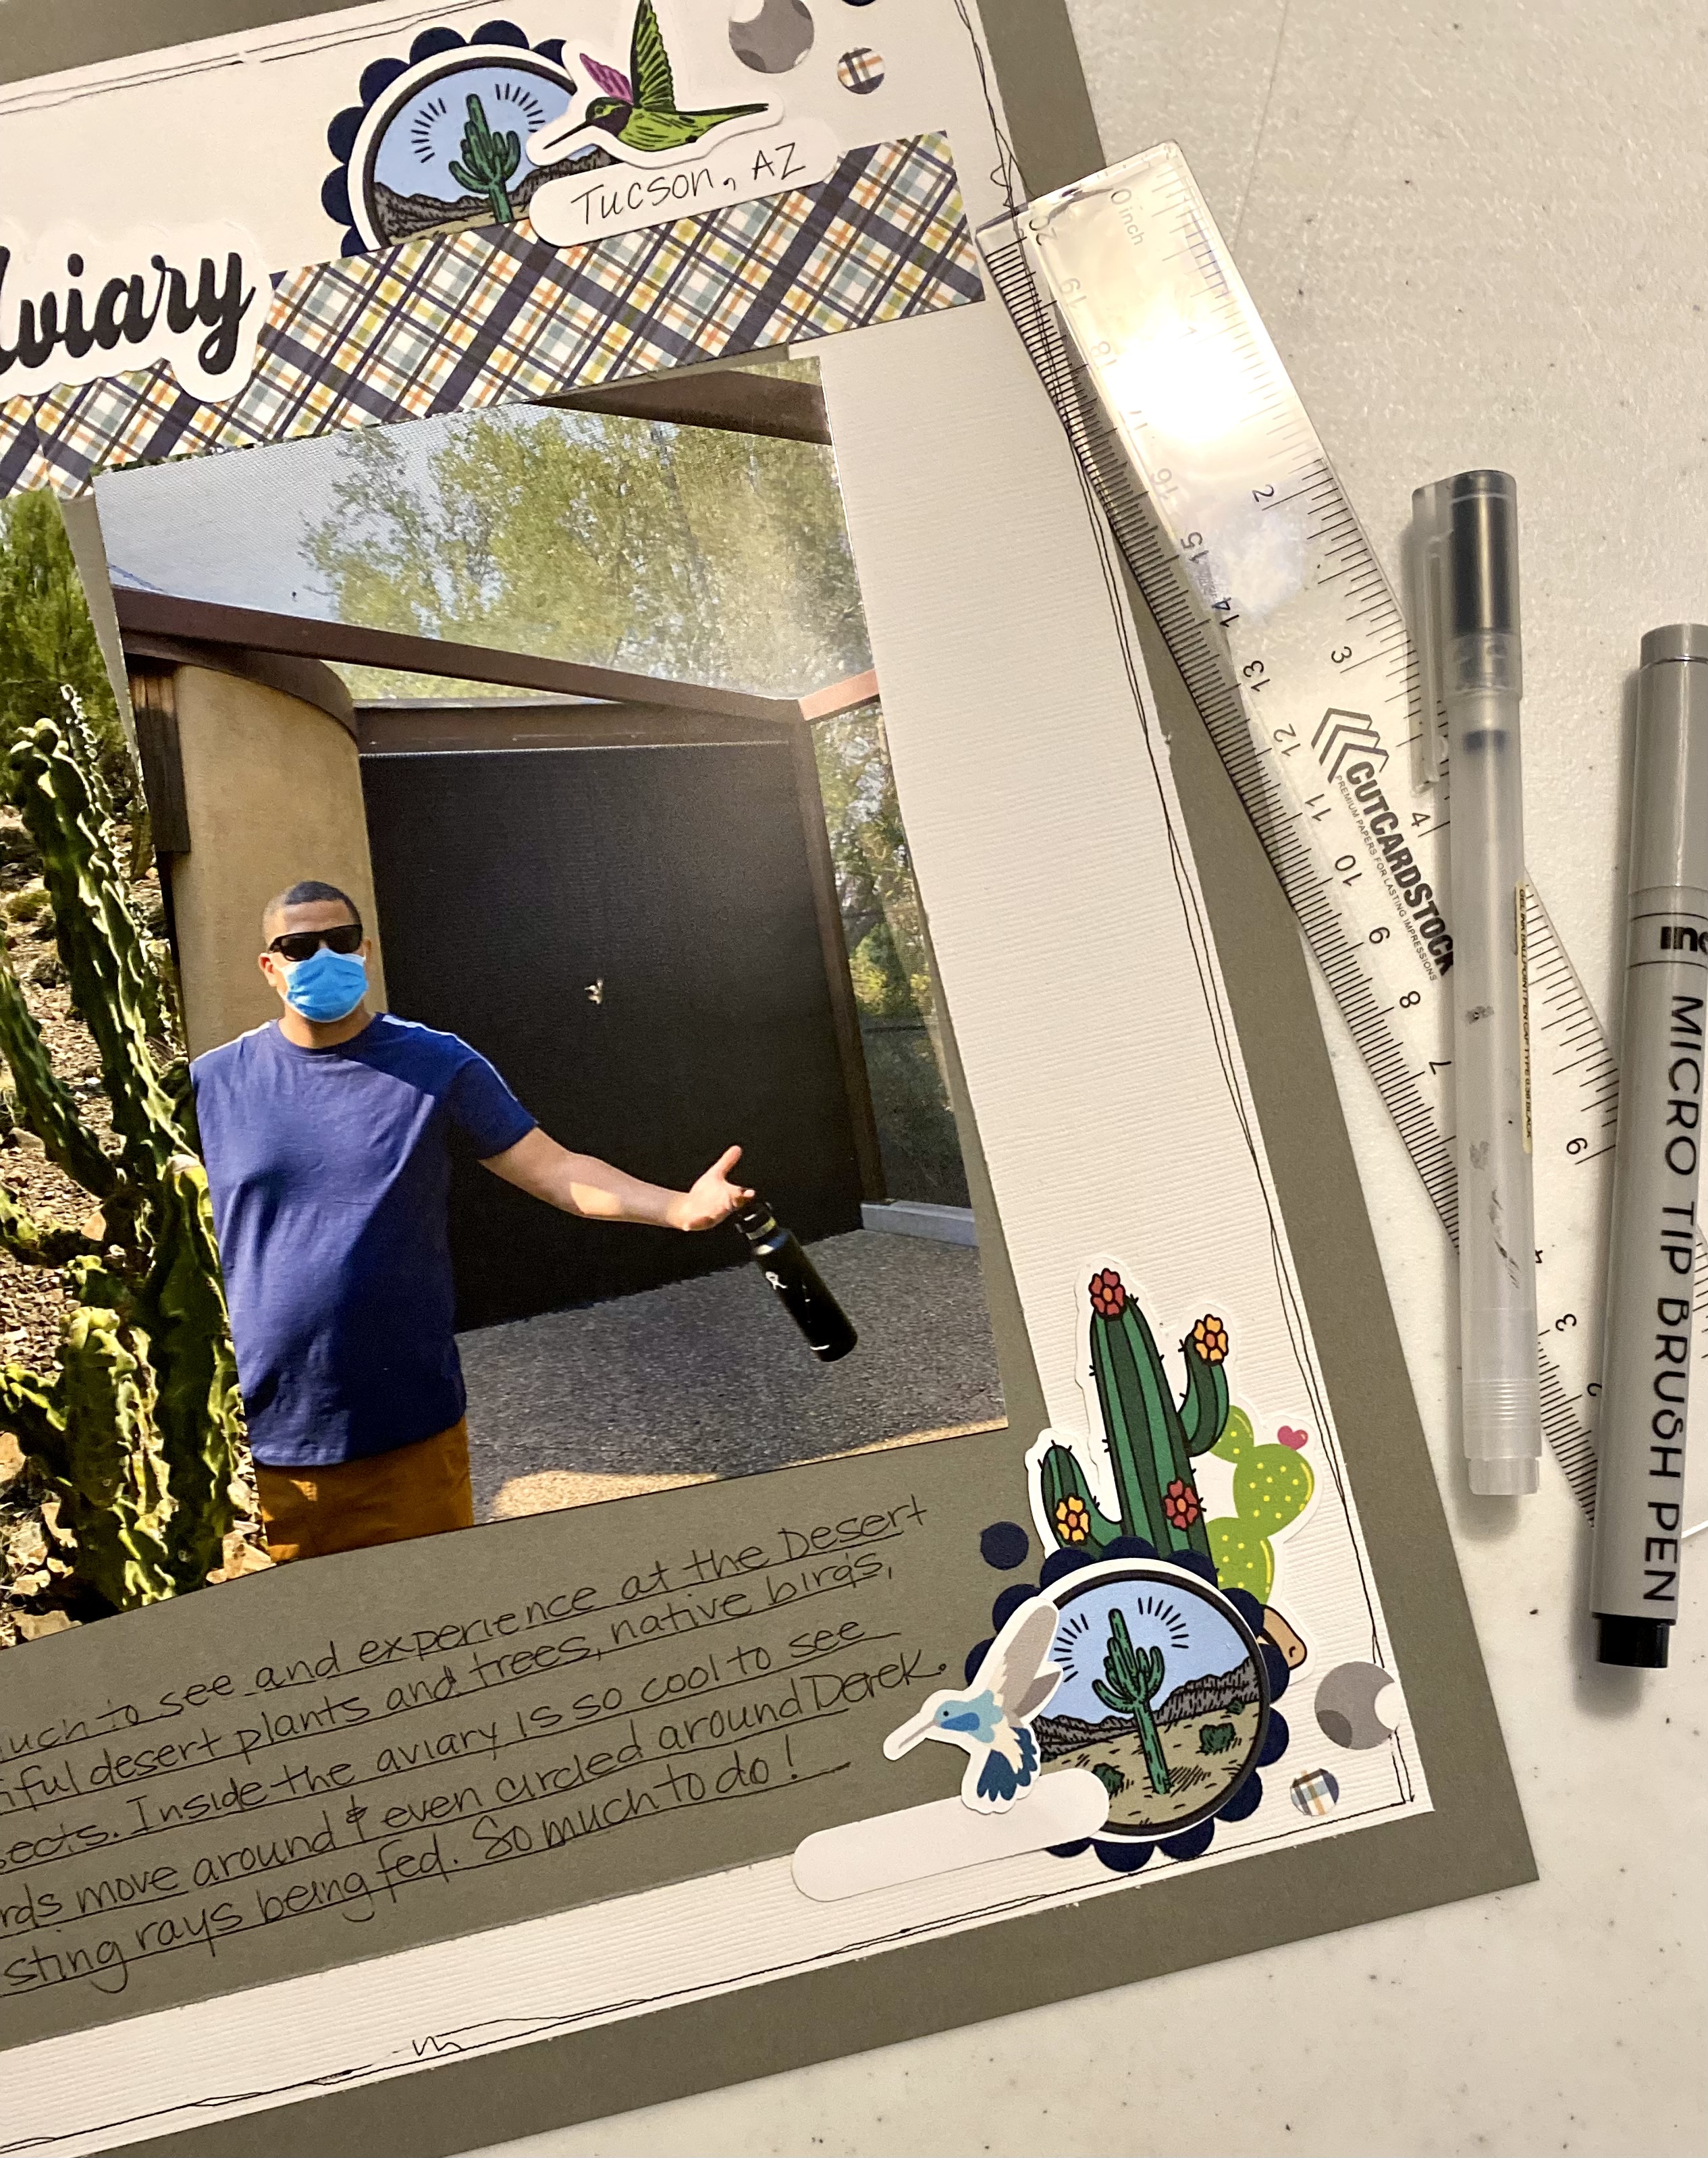
Page Two of the layouts for my photos of the Desert Museum. Believe me, I took a ton of photos but only felt the need to print some of them. I have three layouts of this day trip and I love them all!
Click HERE to see the left side of this spread and here's the right side or page two of it. I followed the same base as the first layout but then followed sketch #271 from Sketch n Scrap. I love that you can take two one page layouts and make them flow into a two pager. Do you do that?
It's easy to do when using the same products/colors/themes, etc.
I used my Cricut to create Print n Cut embellishments and title for the page, just like I did for the first layout. Although I used different images, it still all coordinates!
Some close ups:
Be sure to click over to the Sketch n Scrap website and/or the Facebook page for all the sketches and challenges!
Products Used:
Cricut Print n Cut for embellies
Scalloped, label, 3/4" and 1/4" circle punches from SU!
1/2" circle punch from my stash (I think I bought it from Amazon)
Happy Thankful Friday! I love doing this post because no matter what's going on, it's nice to look back and be thankful for something - even if it's a tiny thing!
This week I'm thankful for new door handles. I don't say door knobs because we actually changed all the doorknobs in our house to door handles.
Slowly the knobs in our house have just stopped turning correctly or not turning at all so we decided to change them all!
And it was a do it yourself type of project. Oh no, not me, it was hubby & his cousin.
Looks great, right? It's the little things for sure in this week's post.
What are you thankful for this week? Let me know in the comments below..
I've been a little obsessed with the Cricut Design Space Print then Cut function. Why haven't I used this more often? I love using this to make scrapbook layout embellishments especially when dealing with small letters or small images.
Check out the process video as I do go through how to accomplish this. Basically grabbed some images from DS, added some text, grouped and then flattened images. Oh, I can't forget that I also added an offset to them as well.
This is such a cost effective way to add embellishments to your layouts without purchasing all the things. Don't get me wrong...I'm all about buying all the things, but it can get expensive!
I love the landscape photos I took while at the museum. This is one of my favorite spots when visiting my sister and mother.
Products Used:
Gray & White cardstock from CutCardStock
6x6 Patterned Paper Pad: Be Brave from Pink and Main
Happy Friday! Another week to be thankful is a blessing in itself!
I spent time with a sister, cousins and my children this week and it made me realize how blessed I am to have everyone so close to me both in distance and relationship. What a wonderful thing to be thankful for! Don’t you agree?!
I hope you have a blessed Easter weekend. Be sure to take a moment to identify what you are thankful for this week.
It's that time of the year...graduation time! I know I have two graduates this year but every year we always get announcements and invitations from other friends and family. So...I like to be prepared by having lots of graduation cards ready.
I made this one using Cricut Design Space and cardstock from CutCardStock. They have great variety of colors that it makes it easy to coordinate school colors when making cards.
I recently purchased some 6" square envelopes from CutCardStock (yes, they have envelopes too) so I decided to make a square card.
This one is 5.5" since my cardbase will be 5.75" square. This was actually pretty easy - the hardest part was what colors to use and whether or not I should pop each layer up with foam adhesive or keep them flat.
At the end, I decided to pop one layer up but keep the rest flat.
Super cute, right? Be sure to check out the YT process video:
Every new season dictates a new banner when you're a crafter! I created this one using all CutCardStock papers and my Cricut. I love the weight and color varieties of paper that CutCardStock has to offer. The list of colors that I used for this banner is listed below.
I purchased the wooden beads for my local dollar store and they add a little something special to the fun banner.
All the images are in Design Space and are free if you are a Cricut Access member like I am. I did a little work to the carrots by:
Duplicating the image; on the duplicate, keep only the orange carrot portion
On the original; weld together both the greenery & carrot; change the welded piece to green
Now the orange carrot lays directly on the green base. This added a little more weight and by adding a white overlay, that made it less flimsy on the banner. I made five of these carrots - two of them I flipped so the indentations went the opposite way. I also dry embossed small polka dots & used foam adhesive to layer the carrots. So cute!
The bunnies are as is since they are so darn cute! Don't you love the oversized noses? Adorable! Before I start adhering cut images together, I always like to lay them out so I know where they go. This avoids adhesive mess and makes putting them together quick & easy.
Check out the CutCardStock Blog post and while you're there, check out the other paper projects by the DT.
The banner was hard to photograph because of the size, but I hope these photos do it justice. It is adorable!


.jpeg)


.jpeg)
.jpeg)


