Saturday, April 15, 2023

Hummingbird Aviary Layout


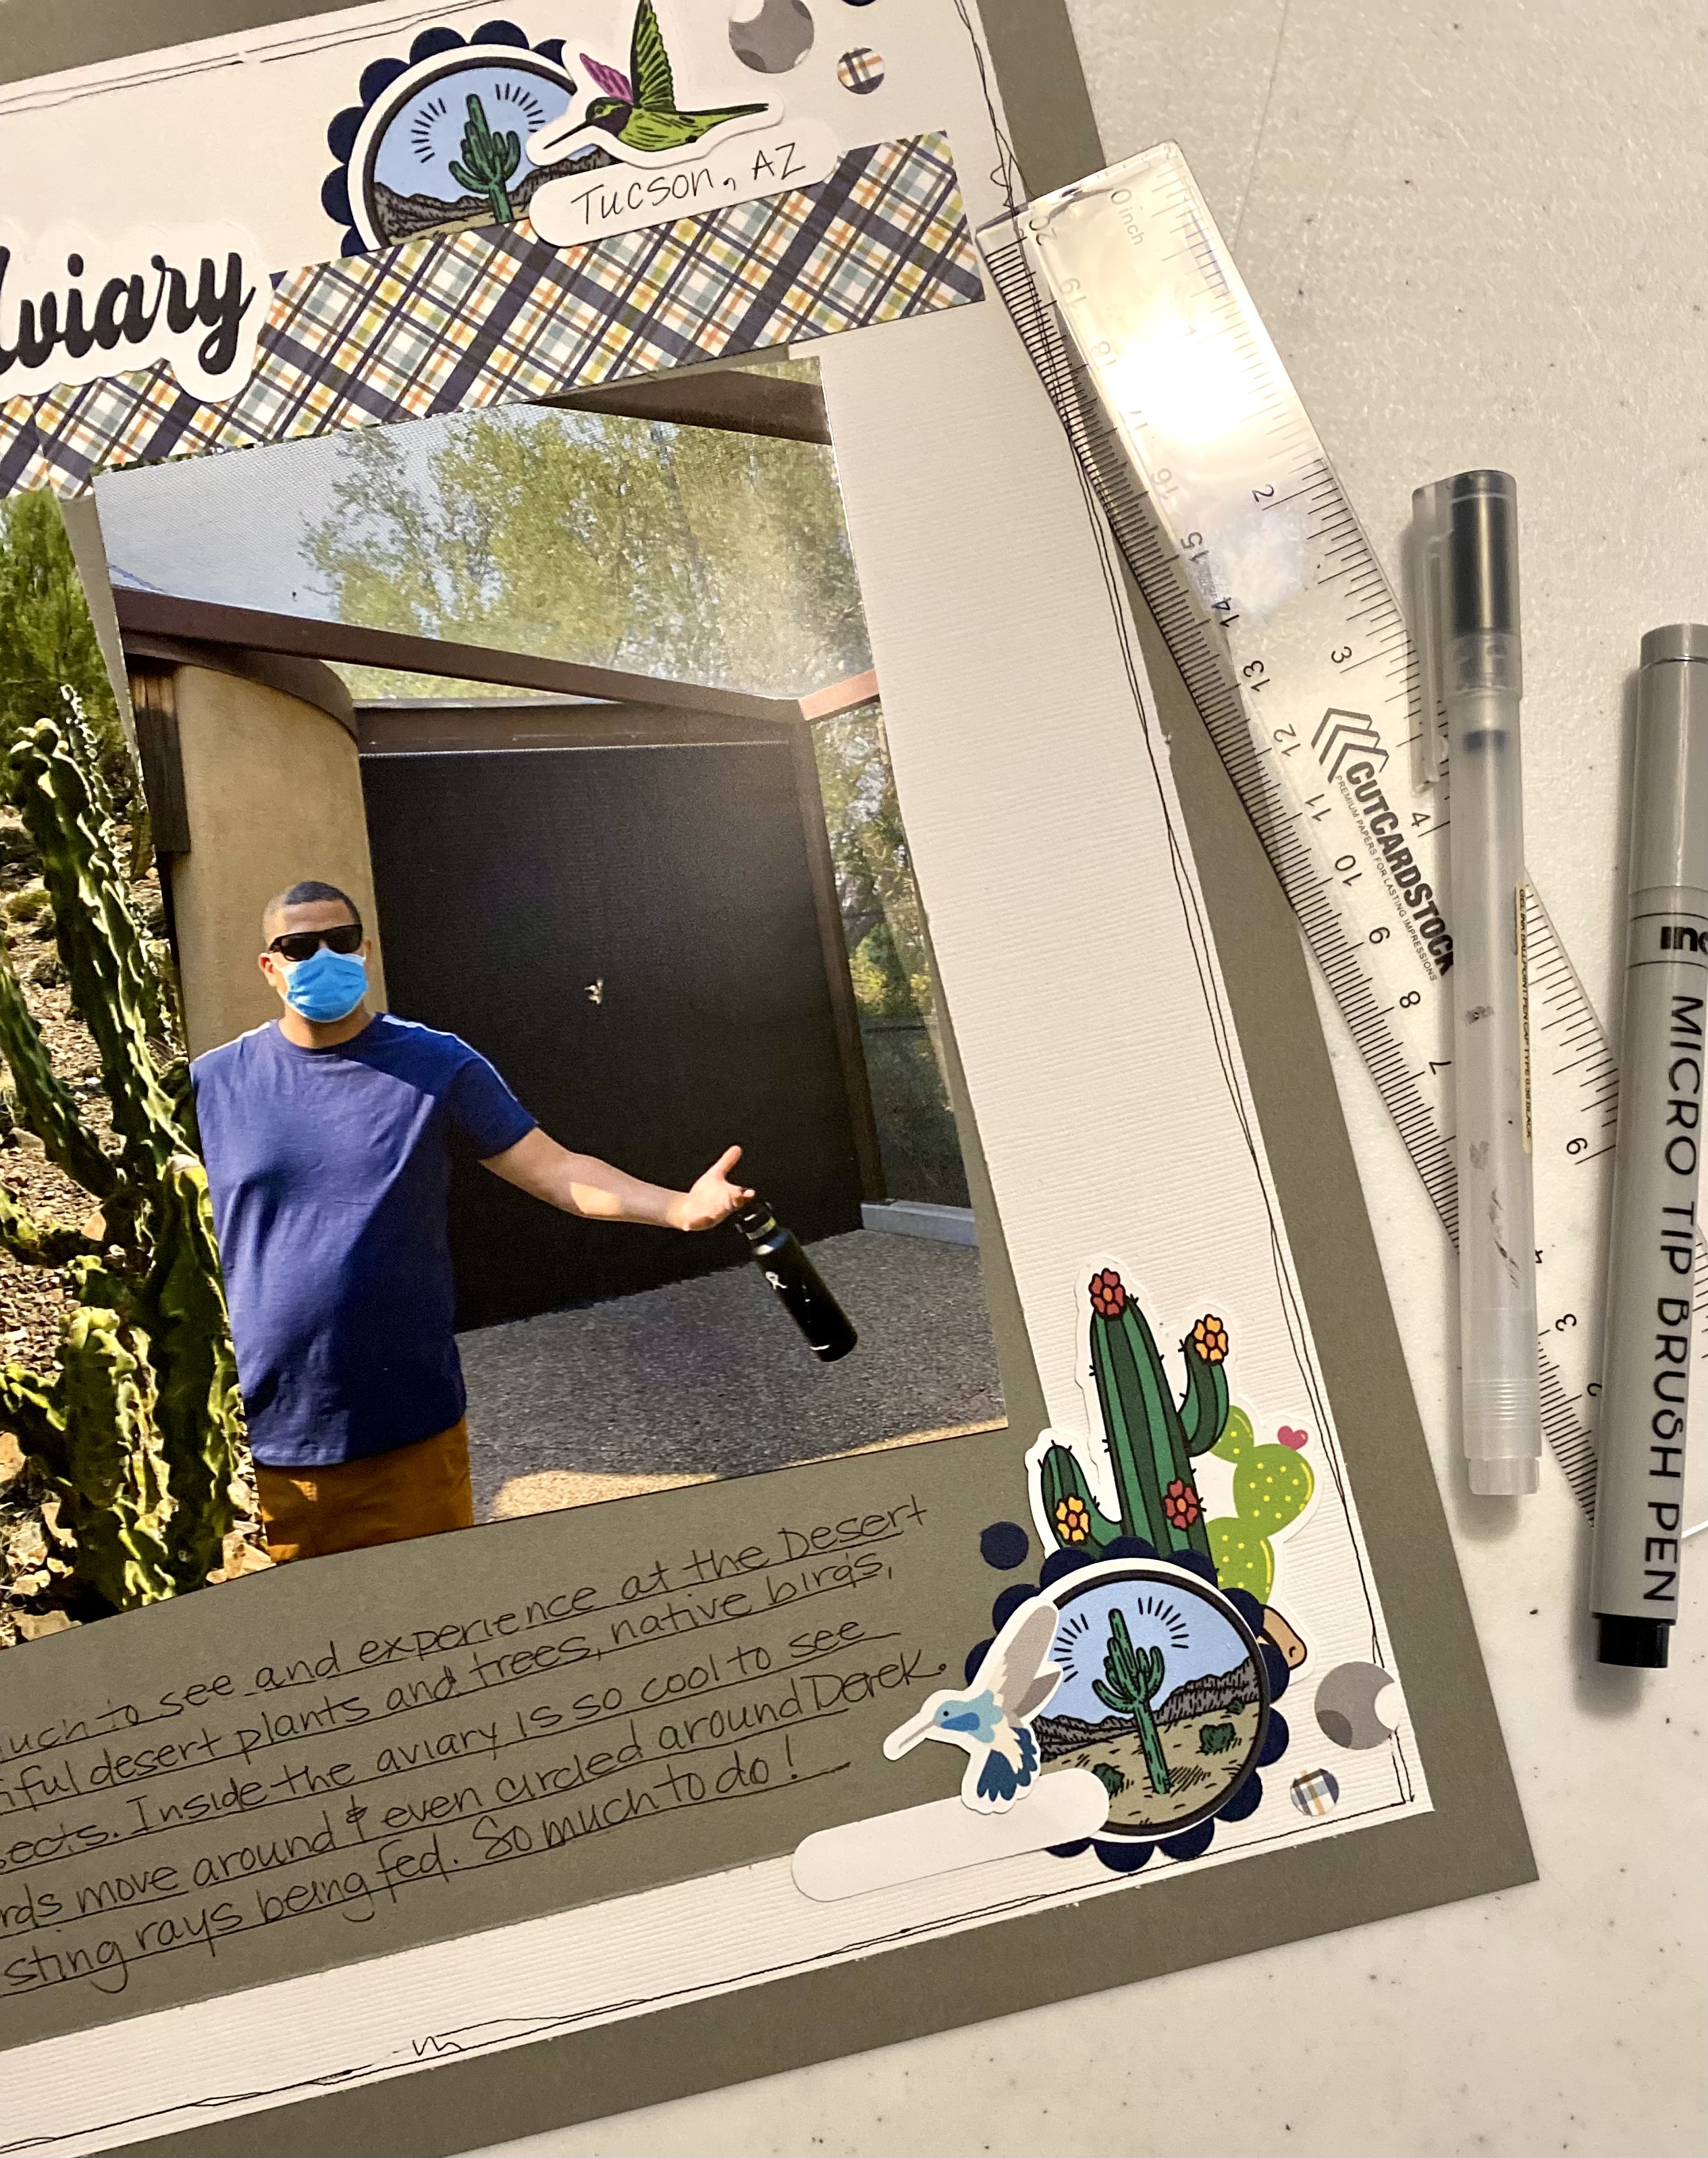
Page Two of the layouts for my photos of the Desert Museum. Believe me, I took a ton of photos but only felt the need to print some of them. I have three layouts of this day trip and I love them all!

Click HERE to see the left side of this spread and here's the right side or page two of it. I followed the same base as the first layout but then followed sketch #271 from Sketch n Scrap. I love that you can take two one page layouts and make them flow into a two pager. Do you do that?


It's easy to do when using the same products/colors/themes, etc.

Here's the sketch from Sketch n Scrap


My layout:

I used my Cricut to create Print n Cut embellishments and title for the page, just like I did for the first layout. Although I used different images, it still all coordinates!

Some close ups:


Be sure to click over to the Sketch n Scrap website and/or the Facebook page for all the sketches and challenges!

Products Used:
Cricut Print n Cut for embellies
Scalloped, label, 3/4" and 1/4" circle punches from SU!
1/2" circle punch from my stash (I think I bought it from Amazon)
Fine Point Black Pen

Friday, April 14, 2023

Another Graduation Card

I have lots of requests for graduation cards plus I have a few of my own. Here's another card made for a college graduate.


After selecting the colors, I used my Cricut to cut out the multiple layers for each image.


I used a little bit of inking to give the hat a little more definition but otherwise this is a pretty simple card to put together.


I love how it looks and that silver metallic paper is gorgeous!


Check out the YouTube video to see the process of putting this together!


Products Used:
CutCardStock: Wedding Cake Texture White, Cougar Smooth White, Pop Tone Wild Cherry and Curious Metallic White Silver
Nuvo Liquid Glue
Cranberry Ink from CTMH


TGIF; Thankful Friday #266


Happy Thankful Friday! I love doing this post because no matter what's going on, it's nice to look back and be thankful for something - even if it's a tiny thing!

This week I'm thankful for new door handles. I don't say door knobs because we actually changed all the doorknobs in our house to door handles. 

Slowly the knobs in our house have just stopped turning correctly or not turning at all so we decided to change them all!

And it was a do it yourself type of project. Oh no, not me, it was hubby & his cousin. 

Looks great, right? It's the little things for sure in this week's post.

What are you thankful for this week? Let me know in the comments below..

Wednesday, April 12, 2023

Tucson Desert Museum Layout; Print & Cut Embellies

I've been a little obsessed with the Cricut Design Space Print then Cut function. Why haven't I used this more often? I love using this to make scrapbook layout embellishments especially when dealing with small letters or small images.

Check out the process video as I do go through how to accomplish this. Basically grabbed some images from DS, added some text, grouped and then flattened images. Oh, I can't forget that I also added an offset to them as well.

This is such a cost effective way to add embellishments to your layouts without purchasing all the things. Don't get me wrong...I'm all about buying all the things, but it can get expensive!
 

I love the landscape photos I took while at the museum. This is one of my favorite spots when visiting my sister and mother.


Products Used:
Gray & White cardstock from CutCardStock
6x6 Patterned Paper Pad: Be Brave from Pink and Main
Font for the title is Aphasia BT
Sketch from shimelle.com


Friday, April 7, 2023

TGIF; Thankful Friday #265

Happy Friday! Another week to be thankful is a blessing in itself! 

I spent time with a sister, cousins and my children this week and it made me realize how blessed I am to have everyone so close to me both in distance and relationship. What a wonderful thing to be thankful for! Don’t you agree?!

I hope you have a blessed Easter weekend. Be sure to take a moment to identify what you are thankful for this week.


Thursday, April 6, 2023

Graduation Time!


It's that time of the year...graduation time! I know I have two graduates this year but every year we always get announcements and invitations from other friends and family.  So...I like to be prepared by having lots of graduation cards ready.


I made this one using Cricut Design Space and cardstock from CutCardStock. They have great variety of colors that it makes it easy to coordinate school colors when making cards.


I recently purchased some 6" square envelopes from CutCardStock (yes, they have envelopes too) so I decided to make a square card.

This one is 5.5" since my cardbase will be 5.75" square. This was actually pretty easy - the hardest part was what colors to use and whether or not I should pop each layer up with foam adhesive or keep them flat.


At the end, I decided to pop one layer up but keep the rest flat.


Super cute, right? Be sure to check out the YT process video:


Saturday, April 1, 2023

Easter Bunny Banner; CutCardStock


Every new season dictates a new banner when you're a crafter! I created this one using all CutCardStock papers and my Cricut. I love the weight and color varieties of paper that CutCardStock has to offer. The list of colors that I used for this banner is listed below.
I purchased the wooden beads for my local dollar store and they add a little something special to the fun banner. 

All the images are in Design Space and are free if you are a Cricut Access member like I am. I did a little work to the carrots by:
  • Duplicating the image; on the duplicate, keep only the orange carrot portion
  • On the original; weld together both the greenery & carrot; change the welded piece to green


Now the orange carrot lays directly on the green base. This added a little more weight and by adding a white overlay, that made it less flimsy on the banner. I made five of these carrots - two of them I flipped so the indentations went the opposite way. I also dry embossed small polka dots & used foam adhesive to layer the carrots. So cute!


The bunnies are as is since they are so darn cute! Don't you love the oversized noses? Adorable! Before I start adhering cut images together, I always like to lay them out so I know where they go. This avoids adhesive mess and makes putting them together quick & easy.


Check out the CutCardStock Blog post and while you're there, check out the other paper projects by the DT. 

The banner was hard to photograph because of the size, but I hope these photos do it justice. It is adorable!