Showing posts with label Upcycle. Show all posts

Monday, February 16, 2026

Canvas Painting; Graffiti Hearts


Watch as I create a fun, bright and hopefully a little grungy canvas that is full of hearts. These hearts are different colors and sizes and really great!

I created this for my oldest granddaughter and because she loves purple, I really tried to add as much as possible.

What do you think? Do you like it?


Thursday, September 25, 2025

Paint Water Cup


I love to go to thrift stores and yard sales to find stuff I can updo. This mug was one of those finds. I love the orange on the handle and inside of it. *

I decided to make it my permanent paint water cup. To do that, I went to the Printable Cuttable Creatables website and found two cut files. One is Artist Painting Easel and Wet Paint Splotches. Wet Paint Splotches is a free cut file. Can you believe it?

After uploading the easel file, I ungrouped the image and only kept the paint brush. I sized everything to my liking and then prepared the mats.

When using vinyl scraps and small cuts, save yourself some time and arrange the different colors onto one mat.


Weed...


Rub the mug with alcohol with a cotton ball or lint free cloth and let it dry before adding the vinyl.


Check out the YT Short for a Quick look at how it was done!

Be sure to use 3SONS15 coupon code for 15% off your order at Printable Cuttable Creatables.

*Note: I used nail polish remover to remove the logo that was on the mug.


Monday, May 26, 2025

Painting Flowers


One thing led to another when I started this painty project!

I do not like wasting paint so out comes the junk journal! I love the final spread. Look how fun it is when you're having fun!


Fun letter addition to the Command Center and a cool inspiring spread for the junk journal 


Check out the process video to see how it was done:


Sunday, May 4, 2025

Cute Axolotl; PCC Project


Hi there, I have a fun updo project using the
Cute Axolotl SVG from Printable Cuttable Creatables. I’m going to be honest, I’ve never even heard of an axolotl until my granddaughter came over wearing an axolotl pajama zip up on Christmas day.

I didn’t give it much thought until I saw this cute cut file on the PCC website. So fun! I knew it’d be perfect for the clearance zippered hoodie that I purchased.


I love the cut files from the website because not only do they come with different cut files to use depending on the material you’re using BUT this one has three different poses for the axolotl. 


Once I decided which pose I wanted, I used the trash icon to remove all the unnecessary images.


With the help of Cricut Design Space and the curve feature, I created the words to fit around the axolotl and some hearts. Once that design was cut out, I weeded out all the extras from the HTV sheet and turned on my Mini Press.


Check out this quick video:


I used two different pinks for the image and black for the eyes/mouth and words.


Once weeded, I cut around the plastic backing sheet so I could arrange the layers without overlapping the plastic backing sheet. I did this to lower the number of presses as possible.


Arranged them so there would be no HTV overlap (it’s ok to overlap the plastic as long as it doesn’t interfere with another HTV):


And then pressed the first layer


Two more layers were added, the darker pink outline and the eyes/mouth. The white background that you see on the sweatshirt will go away. Those are just the press marks that are often left behind when using a press.


I always keep a lookout for inexpensive items that I can jazz up with a cute SVG cut file and this one is the perfect example! 


Be sure to use 3SONS15 for 15% off any purchase from the PCC website. The blog has all sorts of DT inspirations too!


Thursday, October 24, 2024

You'll Float Too Upcycle

I know, I know...creepy title...yes it is. So last year, my daughter and I did ghost paintings which is when you purchase a thrift store or old picture and basically, ghost it. We wanted to do something like that again, but it's been really hard finding a good photo to upcycle. 

If you want to see last year's painting, check out THIS YT short of the transformation!

Last weekend, she and I went to Goodwill and found this painting. I mean, just look at that red balloon screaming for a Pennywise clown redo. It's a little creepy as is, don't you think?


And here's the upcycle. I don't hate it but I definitely don't love it. It's a great "hang up once a year" project if you want to be creeped out kinda thing!


Watch the process here:


Happy Halloween!

Tuesday, October 1, 2024

Whimsical Painted Planter


You know I love to create things outside of the craftroom and this is a super fun one! I purchased a plain planter from my local grocery store for less than $10 (I wish I bought more but of course they were gone when I returned later) and you know I couldn't let it stay that way!


I had one plan in mind when painting the pot, but of course it took a completely different path and I absolutely love it!


You know the feeling when you finish a project and still think it needs something? Yup, that was me when I thought it was done. Then I added large and small polka dots! Now it was done and it looks great in its home.


Be sure to watch the YouTube process video for my thoughts and of course the process!


Monday, May 20, 2024

Trash to Treasure Fun Projects


I took a week off from work and finished a bunch of projects that have been sitting there staring at me for far too long. Both of these have shorts on my YouTube channel if you're interested in seeing them in action. These are the before and after pictures.

One of my favorite things to do is to make treasure out of trash (or not quite trash, but ugly). When DD and I decided to redo and organize the Command Center, she removed this side table from under her desk. It's pretty solid wood but as you can see...kinda boring!


I used my Cricut to cut stencils and acrylic paints to change the look. Don't you love it? It looks perfect on our front porch especially with those faux grout lines (that was an afterthought).


The second project came from my home. I was (sort of) gifted this coaster set, but it is way too foo foo for us. I mean FAMILY speed out as "Father And Mother I Love You"...a little lame don't you think? I covered them in white acrylic paint and then sanded them down to get a smooth finish.


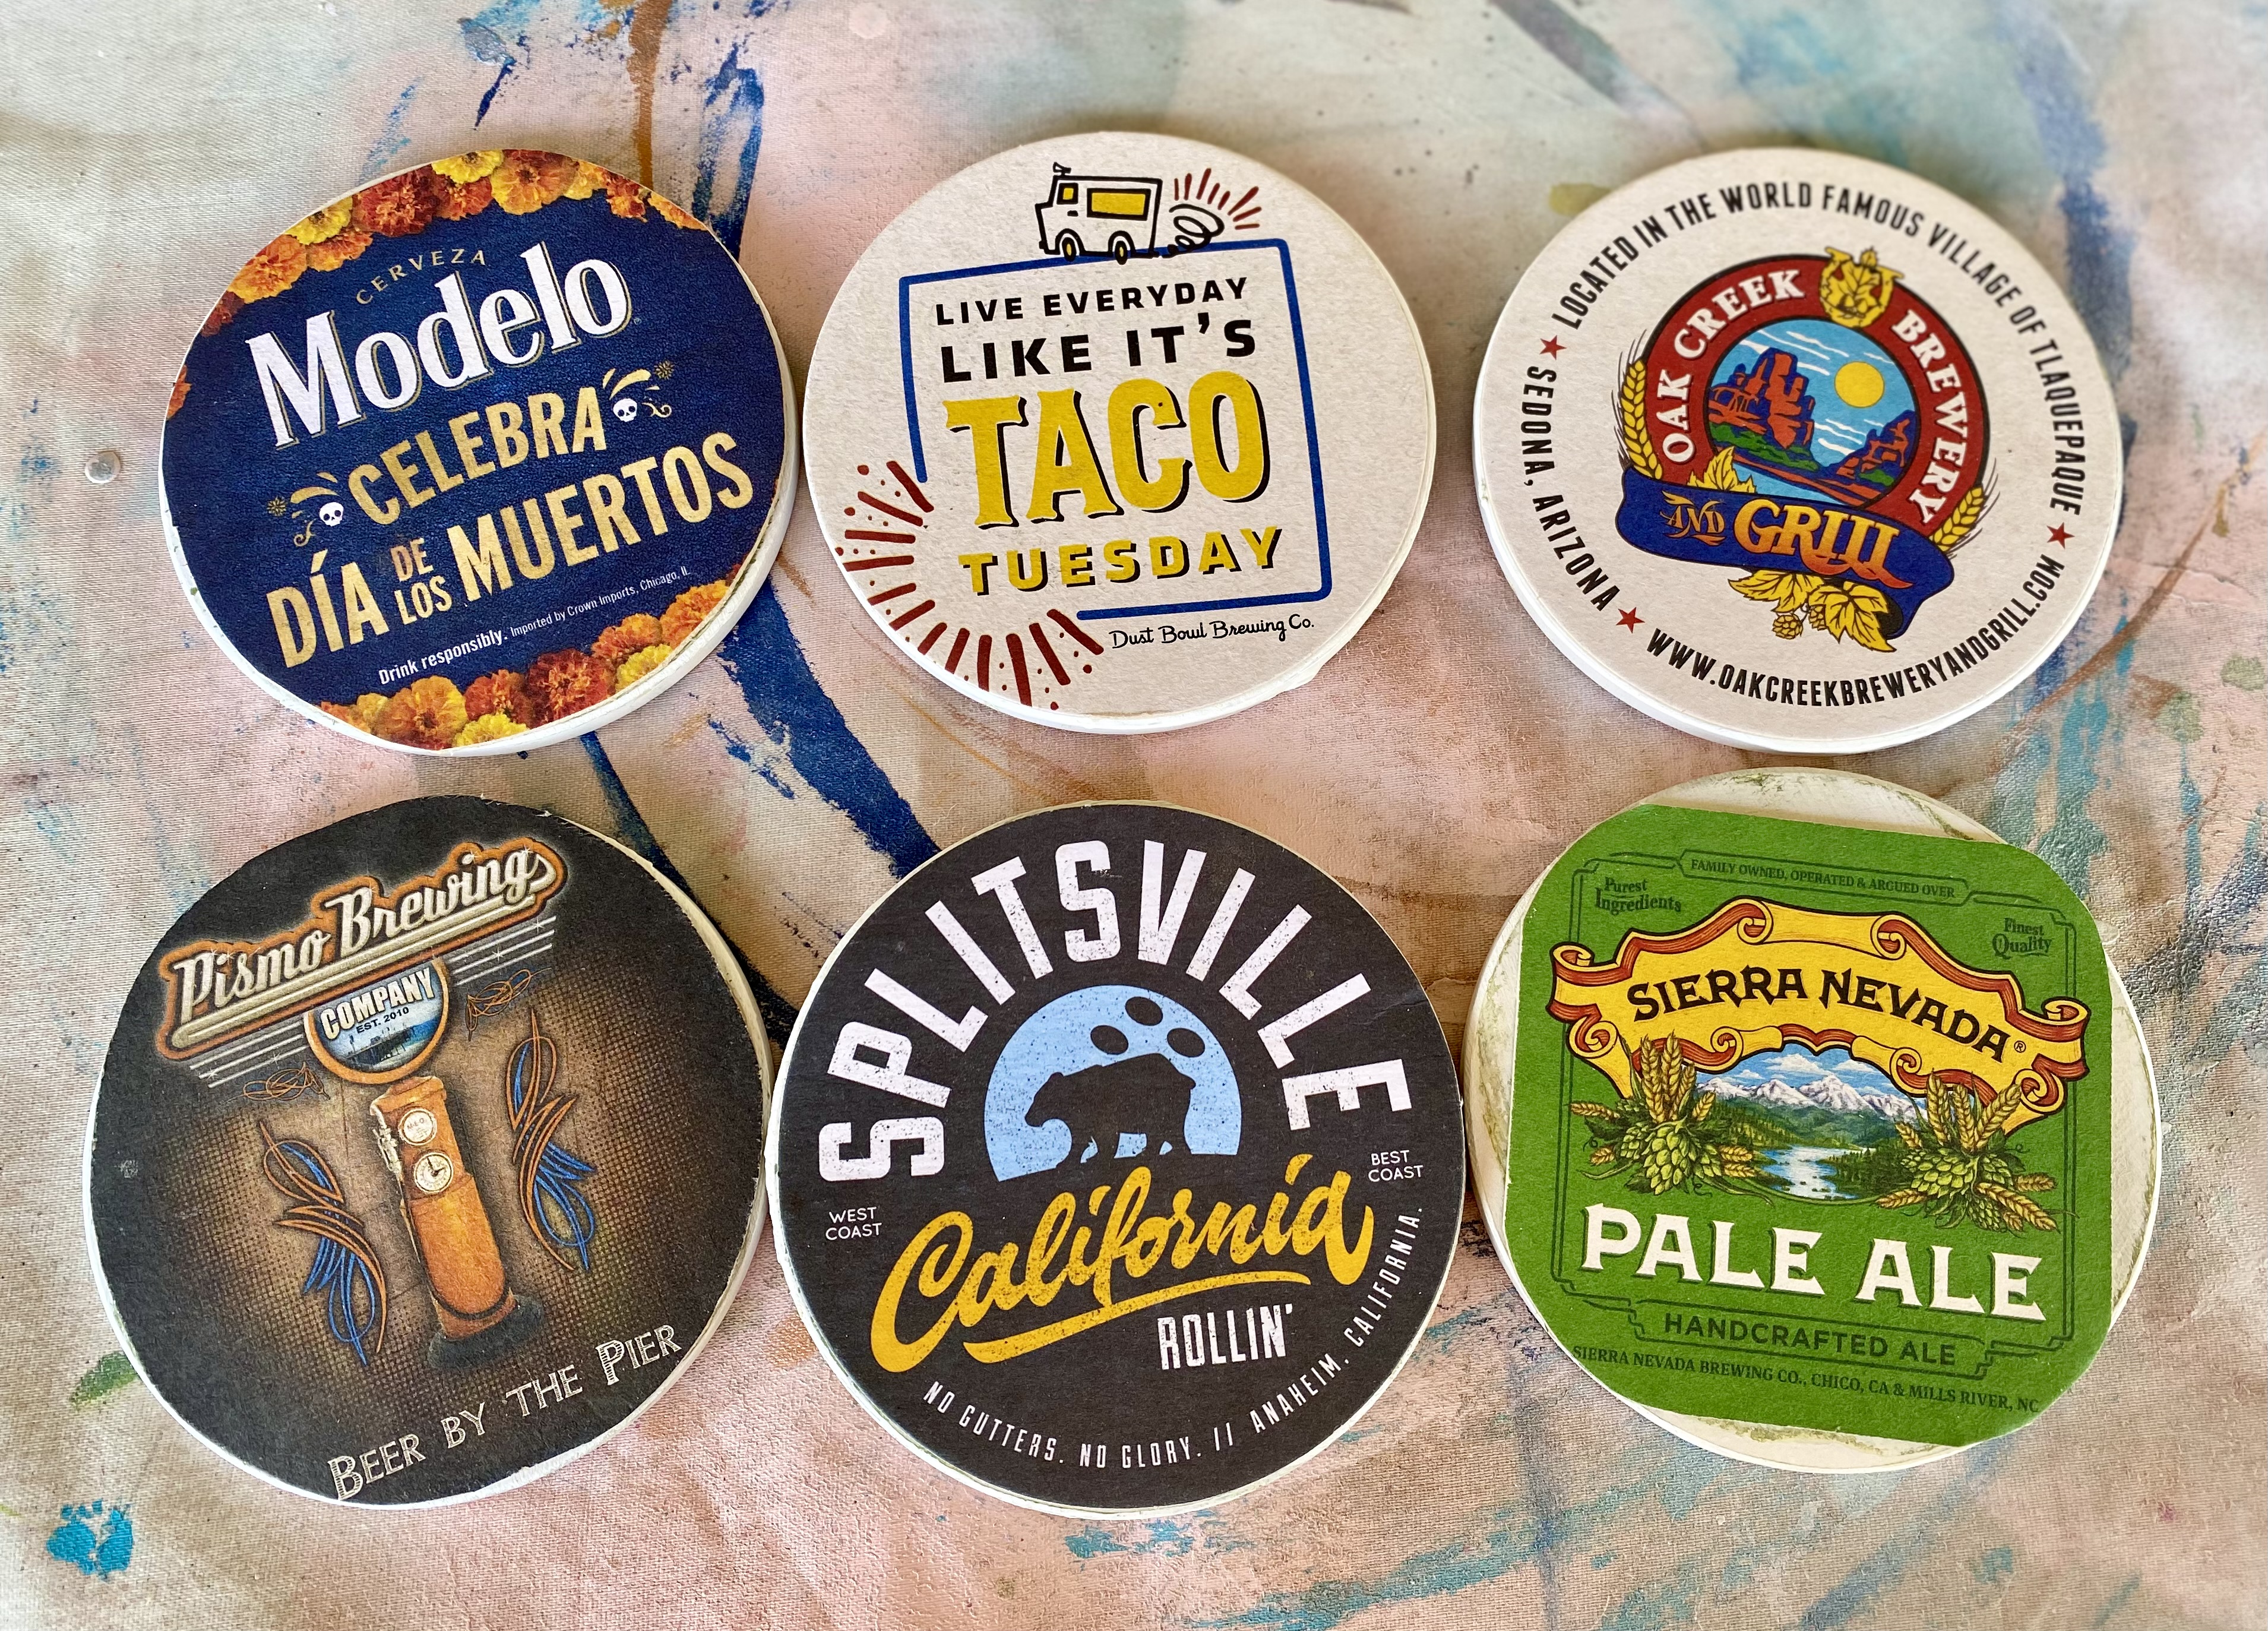
I then used E6000 to adhere some cheap, throwaway drink coasters of different craft beer places and/or restaurants that I had in my collection. Once they dried, I added a thin layer of polycrylic glaze over the top of each one. This is perfect for our backyard patio and it came in this cute wire holder.


I'm working on another project which involves another furniture updo. I bought this table at Goodwill for $4.79. We're looking for a side table for our backyard covered porch. Once it's sanded down, I plan on using black paint to cover it and then emulating a vinyl record on top. I can't wait to see the final result!

You can see the final result on my IG account. I always post photos there!


Find me @3sons_and_astar


Tuesday, May 7, 2024

Beware Ogre Signs; Shrek Anyone?


I love custom orders and this one was a fun one for sure! This started off as a discarded (in the recycle bin of course) box that I cut down to size. They are both around 12x20" and perfect for wood signs.

I used a combination of two shades of brown, brick red and white acrylic paints to change the look of cardboard to wood planks. Then I cut the ends of the planks very jagged to emulate old wood.

The "Stay Out" sign I used a thick point white Posca paint pen and then highlighted them with a fine point black pen. I tried to write it sloppy and a little juvenile.


The "Beware Ogre" sign was a little harder to finish because well...I wasn't sure how to make an ugly ogre! I used two shades of green, red and white to finish him up. Luckily I had a photo to assist with the drawing and I think he turned out as he should - mean & ugly!


Another Trash to Treasure project that I love! The person who ordered it loved them too and that's what is important!


Wednesday, May 1, 2024

Engraved and Painted Rock; LTCCB


It's time for another six week challenge from the Love To Craft Challenge Blog (LTCCB)! You know I love all things crafty so when I saw this engraving tool at Grocery Outlet, I grabbed it. It was less than $5 so what did I have to lose?


I hand wrote the word 'GROW' and some leaves on the side of this flat rock in pencil before using the engraver on it. Ok, gotta tell ya, the rock may have been a little too hard of a surface for this engraver, but it did do what it was supposed to do. 

Now, I have no patience so I basically scratched the surface but I'm sure if you really went over it, it would have a really nice groove. I still recommend getting it since it was so inexpensive & batteries were included!


I used paint to highlight the engraved areas as well as all over the rock surface & sides. 


And it looks so great in its new home - a planter in my backyard!


Be sure to click on over to the LTCCB website to add your crafty project to the challenge or just check out all the inspiration projects!

Be sure to watch this quick YouTube process video to see how cool this tool is!


Monday, April 22, 2024

Upcycled Trays


If you peek at my blog or any of my social media accounts, you know that I create all sorts of crafty things. If asked, I would say paper crafting is my fav but I love upcycled projects too! The thrill of making something different is so cool. I love it!


With that in mind, I hope you like this upcycled project as much as I do. I had these three trays in my craft room for who knows how long. If I'm being honest, I don't even know where they came from! I decided to upcycle them by spray painting them white/black and adding some vinyl.

Before I did that, I cleaned each tray with soap & water and lightly sanded them before spray painting.


All designs were created in Cricut Design Space. Although I don't partake or celebrate 420, I do have some family that do so I made these especially for them. Whether they use the trays as intended or as a decorative piece to hang, it's up to them.


Watch the video as I give advice on weeding (no pun intended) out the skinny lines of the Taurus design.


Enjoy!