A place to showcase my crafts and talk about it...what's better than that? I hope to inspire and encourage others to create things for themselves, friends and family.
Well folks, September is coming to an end and so is my STAMPtember series. I'm a little embarrassed because there were only four projects to my series. I promise next year, I'll do better!
But I do have to say, I love the four projects I created. I love trying new techniques and trying some that I haven't done in awhile and that's why I love these types of series - I love to encourage myself!
Close Ups:
Check out the last and final stamped cards on my YouTube channel:
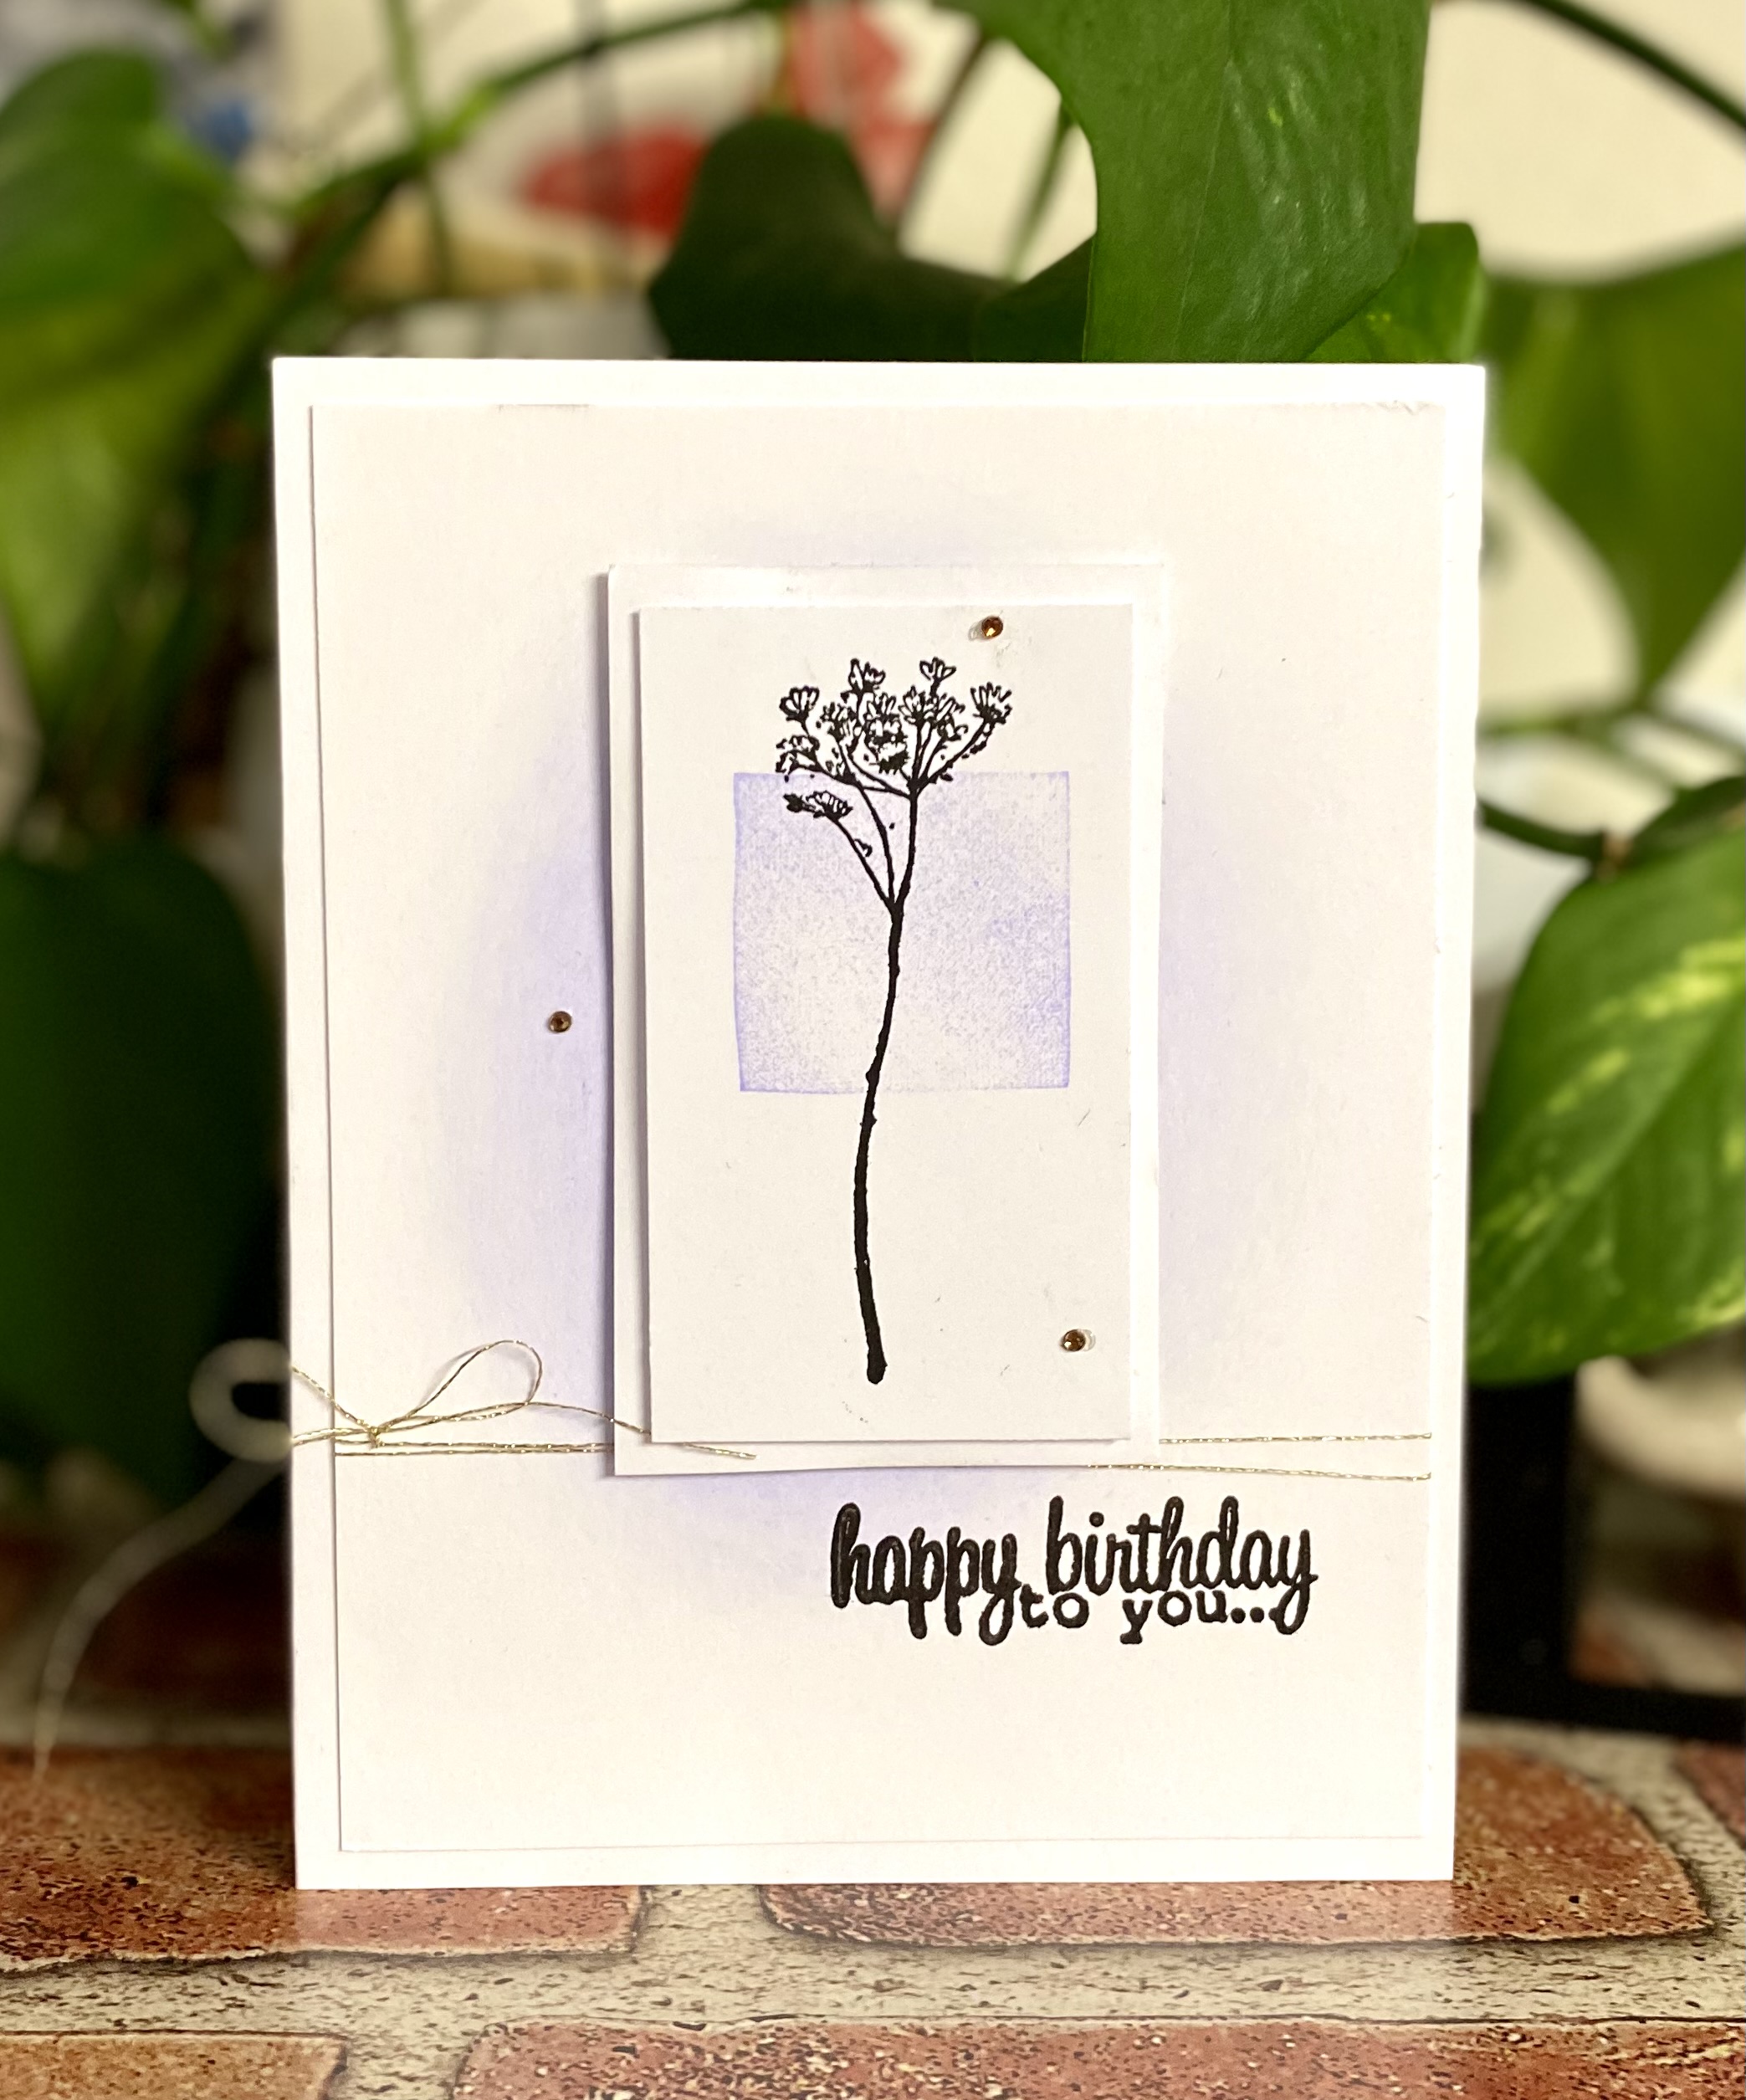
Products Used are all old and retired Stampin Up! products. I've had some of these ink pads for over 20 years! The gold thread was purchased for JoAnn's in their sewing department and the rhinestones are from CTMH.
Project Three for the STAMPtember series is using a wreath builder. I don't have the actual template, but one of my stamping friends made a paper one for me. I use this all the time and it works great with the MISTI.
Basically, you place your piece of paper within the guidelines of the wreath builder and stamp; turn the paper and stamp; and continue. You'll see in the process video that I didn't use all the turns, but I love the way it turned out anyhow.
I love how mistakes don't mean you ruined a project. It just means you have to be creative in continuing and not give up!
I'm not exactly sure what this technique is called but I'm calling it Split Image because that's exactly what I did. I took a full background stamp and stamped it in three different coordinating colors and then split it into three pieces. Took one of each of the three different color images and combined it into one for the front of the card base.
This project is Project 2 of my STAMPtember series. I hope you're watching the process video on YouTube!
I love starting series because it takes me out of my comfort zone and allows me to try new techniques or grab stamps that have been sitting too long (or honestly, never used). I was gifted this beautiful background stamp from my friend, Mia after her mom passed away a few years ago.
What do you think? I'm a little unsure of the lighter purple coverage on the sentiment tag, but it still works well with the color scheme and adding those matte gold sequins made a huge difference. Swoon!
Only one more card after this one to complete my Stamp-tember Series 2021. If you haven't noticed already, each card has used wooden block stamps from my floral collection and a new technique.
For this card, I used a faux watercolor technique which basically means I spritzed the inked stamps with water before I stamped on the cardstock base. The stamps that I used were perfect for this technique and the sponged colors that I added, really made them stand out! Be sure to check out the process video below:
After I created the card front, I decided to make this card an easel card. I'm making all these cool cards in my Monthly Card Kit and decided to chose one of those card types.
The addition of the rhinestones and triple tied bow on the top make it so much prettier and I can't wait to send it out!
Products Used:
Ink Pads by SU!: Wild Wasabi, Groovy Guava, Tangerine Tango and Purely Pomegranate
As you know, I started my own Stamp-tember Series this year and my goal is to use older wooden block stamps with techniques I haven't used in a long time.
I think I've been pretty successful so far. If you haven't seen all the posts and videos yet, I recommend that you do. I'm having a lot of fun with this series.
This card I used painter's tape to mask off an area on the cardstock base to make this a one layer card. Check out the process video below.
I had to redo the stamping/inking on another piece of white cardstock since the painters tape peeled off some of the cardstock. So the second time, I rubbed the tape along my arm to take away some of the stickiness and that made a huge difference!
Check out the card here:
And a second card I made using the oops of the first try:
I love them both! Very simple but so very pretty!
Products I used:
Ink Pads from FSJ: Electric Lime and Orange Rage
Cardstock from FSJ: Outrageous Pink
Stamps are older stamps from SU!
Black Licorice Color Silk and Black Twine also from FSJ
For this Stamp-tember card #7, I used the masking technique which turned into a mixed media card! It took a whole different turn and I kept working on it and working on it until it became something that I liked. You'll see all the steps in the process video below.
I hope this is a good lesson...lol...keep at it until it becomes something you love!
What do you think? Do you like it? I sure to!
Products Used:
Stamp Set; Stampin Up!
Ink pads from SU!: YoYo Yellow, Lavender Lace, Pink Passion, Melon Mambo, Green Galore
Card #6 of the Stamp-tember series. I originally was going to stop at five, but I'm having so much fun! My hope is to complete ten projects - one new one every other day!
For this card, I used the baby wipe technique. Basically making my own ink pad by using stacked baby wipes & some re-inkers. The stamp that I used for this card is another one that I've had for a long time but only used a couple of times. I remember when I bought it - I loved it so much but I just wasn't sure how to use it. It's pretty large & solid! This technique is perfect to get some color variation.
Check out the video here:
More photos!
I combined the baby wipe technique with a 3D effect. Making my own 3D image by cutting parts of the image.
This might be my favorite so far in the series. I didn't expect it to be so awesome! And if you view the video, you can see that I was able to create many other projects using my baby wipe ink pad.
Products Used:
Re-inkers from SU!; Melon Mambo, Blackberry Bliss, Rich Razzleberry, Old Olive and the yellow (I'm sure it has some fun name, but I couldn't read the label).
Re-inkers from my stash: Gold and Hot Pink
Sentiment Stamp from the Flowers For You monthly stamp set from CTMH
It's September 20th and I'm continuing my Stamp-tember series. I'm not sure how long I'm going to continue, but I'm having a lot of fun pulling out my older stamps & doing techniques I haven't done in a long time!
You'll see at the beginning of the video, a pile of floral stamps I am unsure whether or not to keep or donate. For this card, I used two of the stamps from this pile to create cute and simple cards by coloring them in using alcohol markers.
Even though I didn't film the actual coloring process (thought I clicked video but instead took a photo), I kept the video so I could talk about it.
Card #1: I used two shades of alcohol markers for the pot and flowers. I accented the flowers with a white gel pen. The base was created by using a gray alcohol marker and marks using a black fine tip pen. I love the lines & dots on this part! I used washi tape and a cut out look with the patterned paper.
Card #2: I used three shades of alcohol markers for the tulips & leaves and a blue/gray for the shading I added to the right of each image. I used a black fine tip marker for the dots above the flowers. Fun patterned paper, silver thread and some enamel dots finish the card front.
In case you're wondering...I decided to keep these two stamps!
I am so happy I decided to pull out the ol' wooden-block stamps. Many of these have years on them and they are over 15 years old! I really need to go through my "floral" drawer and Bash the Stash!
This fourth project was created by using the stamping technique, Rock & Roll. Basically, you want a full solid image (that's why I used a circle stamp) and then rock the stamp on the ink pad to get most of the ink around the outside edges.
Check out the video - some circles came out better than others, but you can certainly see the technique.
Once I stamped the circles, I chose a random floral image and stamped it over them; wrapped yarn around it; splattered some silver ink and then adhered a sentiment.
I love how it turned out - great for a masculine card, even with the flowers.
This is the fourth card of my Stamp-tember series. I hope you've been following along on YouTube and the blog. I'll also post these on my IG account.
Products Used:
Ink Pads from SU!; Night of Navy, Marina Mist, Pacific Point, Soft Sky
Happy Stamp-tember! I'm seeing lots of stamping companies promoting this new holiday during the month of September so I thought I'd do some extra stamping this month too! Check out my process videos on YouTube!
I'm pulling out some old wood-block stamp sets and stamping techniques for these projects. How fun to just play & stamp!
For this project, I'm using the generation stamping technique; well at least it started that way...the ink pad I used is also an oldie. I had many of these ink pads since the early 2000's! But they still have some ink but not much for this particular technique.
The card is simple and I love the yellow & black color combination. It's an old technique but with the ink splatters & fun patterned papers, it sure does look modern!
What do you think? Do you agree?
Products Used:
Flower stamp set by Stampin' Up
Ink Sahara Sand by Stampin' Up
Black twine by FSJ (Spellbinders)
Color splash in black & yellow by FSJ (Spellbinders)
I'm stamping away during the Stamp-tember holiday! For this project, I pulled out another wooden-block stamp set from the early 2000's and worked on the ghost technique. I love how my patterned paper turned out and the cards are fabulous!
Check out the process video:
See the cards:
Products Used:
Floral Stamp Set by Stampin' Up
All Ink Pads from Close To My Heart; White Daisy, Cotton Candy, Honey, Indian Corn Blue and Olive
Black archival ink pad
Lace stickers from the Dollar Tree
Sentiments: Hey Y'all from CTMH and Feel Goods from Stampin' Up
Card #1: I cut a 4 x 5.35" panel from the patterned paper I made, added a scrap piece of black cardstock & then that fabulous lace sticker! After stamping the sentiment, I added some flat-backed pearls.
Card #2: I cut out a rectangle to make a frame out of the patterned paper for the second card and then used 3D adhesive to pop it up from the card base. I added some clear yellow enamel dots too!
So apparently there's a thing called Stamp-tember. (I've also heard of Scrap-tember, but that's a whole other thing - maybe next year!). Oh, us crafters sure do love to make up occasions, huh?!? LOL
Well I decided to jump all over this "holiday" and pull out my older wooden block stamp sets & revisit techniques I haven't done in a long time.
Here's the card I created during the process YouTube video:
For my the Kick Off project, I used a two part stamp. Boy, you sure do realize how important the MISTI is when you're trying to line up stamps, but I think I did a good job. In fact, my "mistake" ended up making a pretty fabulous card! Be sure to check out the process video here:
What I did:
After realizing I did not get a solid stamped image, I decided to pull out my watercolor pencils and add some shading & dimension to the stamped flowers. I LOVE how this ended up and really did update the look of these petals & leaves. Adding the color splashes really made it pop too.
I used a piece of a gel print on the card front as well. Although the stamped image is pretty basic, the addition of the shading & gel print really made it artsy! Don't you agree?!?
Products Used:
Tulip stamp set by Stampin' Up (from the early 2000's)
Ink Pads: Mellow Moss and Pale Plum from SU!
Watercolor Pencils by Close To My Heart
Waterbrush
Color Silk in Black Licorice and Gold from FSJ (now Spellbinders)
Gold thread (purchased from JoAnne's Fabric Store)
Purple flat-back pearls from Queen & Co.
Sentiment from Altenew
Cardstock, patterned paper and gel print papers are from my stash
Stay tuned for more Stamp-tember fun! I'll post a new YouTube video and blog post every other day during September.