A place to showcase my crafts and talk about it...what's better than that? I hope to inspire and encourage others to create things for themselves, friends and family.
Well folks, I have decided to step down from the Printable Cuttable Creatables Design Team so this is the last project for them but definitely not the last time I'll use their cut files.
In honor of December birthdays, I decided to make a cute card using their cut file Scandinavian Nordic Gnome. I mean who doesn't love a gnome? Plus there are so many great gnome puns!
Once the image is uploaded into Cricut Design Space, make sure the image is highlighted and then ungroup. Printable Cuttable Creatables gives multiple layering options in their cut files but you only need one.
Since we're using paper, keep the top image and delete the bottom.
Now it's time to adjust the size. Just click on one of the corner dots and drag until it reaches the size you want.
Since I know in advance that I need a backing for the gnome, I duplicated the entire image and then used the combine feature to create a solid back.
Now I'm going to cut this, layer & adhere and get ready to make the card.
The card base is 4.25x7" scored at 5.5. You'll also need a piece of the same cardstock at 4.25x1.5".
Two pieces of coordinating cardstock at 4x1.25 and two pieces of patterned paper at 3.75x1.0".
Watch the YouTube video for the process. Isn't this gnome too cute?
The key to this fun fold card is to make sure the image is taller than the gap in between. Other than that, it's pretty easy to put together!
Since PCC's files include one designed for paper and another one for vinyl, I removed the image I didn't use before resizing and don't forget to mirror before cutting!
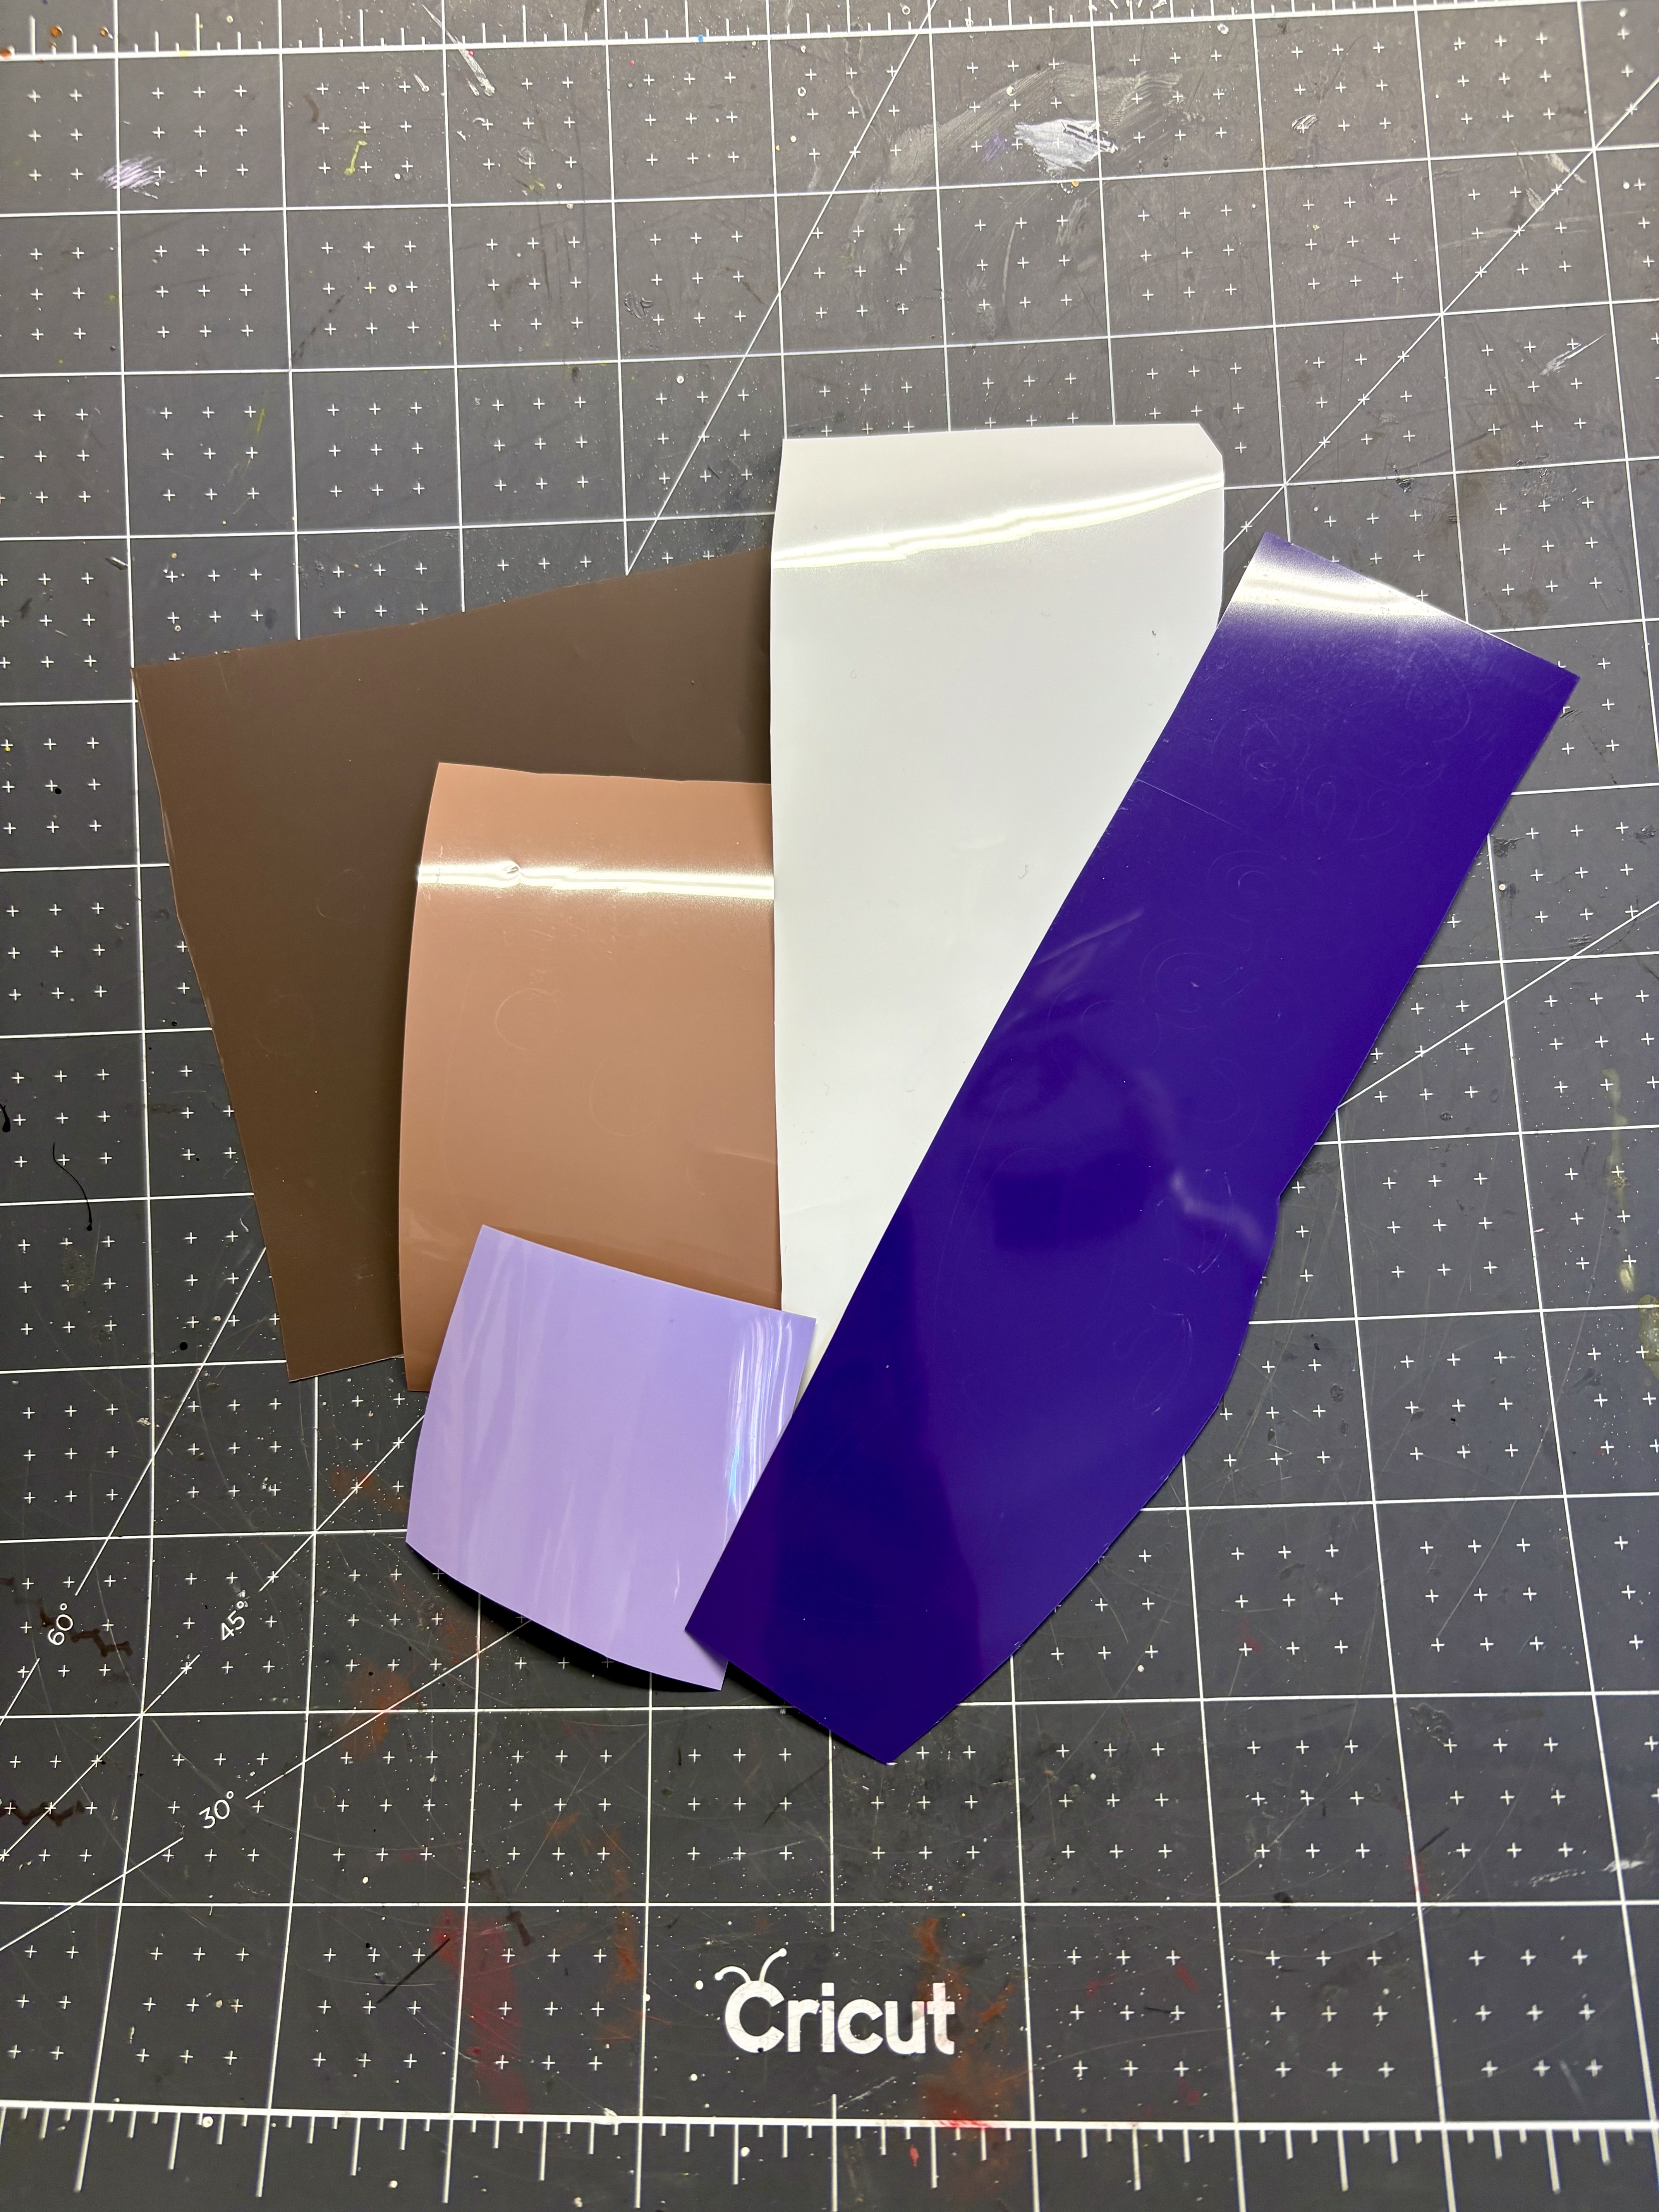
I used five different color HTVs for the image.
Cut, weed, and press to finish the job!
And a close up:
Printable Cuttable Creatables has so many cute images. After filling your cart, make sure to use 3SONS15 for 15% off your order!
Check out projects on the PCC Blog for lots of inspiration!
Ever wonder how to use small images on your card front? We'll, here's a suggestion...make multiple copies and frame them.
And to make it more fun, use Polaroid frames. That's what I did to create this cute card using smaller images from the Emotions and Opposites stamp set from Seguras Crafts.
Watch the YouTube process video for directions on how I put it all together.
For my second DT project this month, I wanted to create personalized stickers for my granddaughters' Easter containers. It's so easy to do with a cute image from Printable Cuttable Creatables, sticker paper and the print/cut feature in Design Space.
First, I uploaded the Bunny Balancing Eggs SVG file and duplicated two times. Once I determined the size, I added each name using the Annie Lou font. I adjusted the size to fit within the bunny's body.
I added offsets to each of them. Offset color defaults to black and I changed it to white. I like to add an offset to print/cut images just in case the cut lines aren't perfect.
At this point, select the bunny image, offset and name before clicking on the flatten button. This changes it to a Print/Cut image.
Click on the MAKE button and then print using your printer.
Once the images print on sticker paper, cut them on your Cricut.
You can personalize any image to add some fun to any occasion!
Hey there! I'm part of a new Design Team, Seguras Crafts and very excited about it. When I received my first package of products, I knew I needed to use these rhinestones! They are gorgeous!
I searched graduation images in Design Space and sized them to fit a standard A2 card. The cardstock is also from Seguras Crafts and I used the 100lb paper option and selected the pressure to More. It cut perfectly.
The Echo Park graduation paper was purchased from 12x12 Scrapbook and the shaker cover from Pink & Main.
It was hard to photograph without getting any glare. Even without lighting.
Watch the YouTube process video to see how easy the card is to put together.
Oh, it's time to share two cards that I made using Cute Pie SVG from Printable Cuttable Creatables. I changed the pie colors so I had a cherry and blueberry pie.
The shapes on the card fronts were created on Cricut Design Space using Basic Shapes and offset. The patterned paper is from Lawn Fawn.
Vellum circles were cut using a large circle punch.
Both sentiments are pretty basic so these cards can be used for any occasion. Adding some highlights using a white pen finished them.
Be sure to check out the Printable Cuttable Creatables website for cute SVG cut files and use the code 3SONS15 for 15% off your order! For inspiration, scroll through the blog. You will not be disappointed!
It's Day Three of my 12 Days of Christmas Gift Tags series. I hope you've been following along so far. If not, scroll back and see the first two tags. You don't want to miss them or any of the upcoming tags!
Be sure to leave a comment here, on my YT channel or IG to be entered into a drawing at the end of the series. The lucky person selected will win a set of one of each 12 tags!
For the third tag, I actually used some items that I purchased during the Stamp & Scrapbook Expo back in March. I purchased them for this reason, but if you're like me, I usually forget all about them and then rediscover them years later.
Not this year! I purchased the glittery winter forest washi tape and deer brads from The Eyelet Outlet. And the sparkly trees were from Hobby Lobby.
I used vanilla and soft blue cardstock for the tags and they turned out so pretty!
It's that time of the year! I started early this month so you can actually use the gift tags this year. Be sure to comment on each blog post, IG post and YT video for chances to win one set of the 12 tags. I'll gather & draw a name at the end of the series and select one winner!
For tag ONE, I pulled out my Cricut and a cute SVG file I purchased from WilderCrafting on Etsy. We're huge Harry Potter fans so when I saw this, I knew I had to have it and make some cute gift tags with it!
I punched a hole in the top to add baker's twine and a jingle bell. I also stamped a "to/from" on the snowman's belly. It is afterall, a gift tag!
Watch the video on how I put it together using my Glue Precision Press.