A place to showcase my crafts and talk about it...what's better than that? I hope to inspire and encourage others to create things for themselves, friends and family.
It's Friday people! Thank goodness. What am I thankful for this week? Books. I've always been an avid reader - I love books but there are some that resonate a little more.
I'm reading a book now called Remarkably Bright Creatures by Shelby Van Pelt and I've only just started but I love it already! One of my coworkers let me borrow it after she read it.
Let me know if you've read it. I hope it continues to be as good as the parts I've already read.
This is a quick layout share showing how I embellished this two page spread. I've said it many times that when I attend crops, I don't always finish layouts. Mostly because I don't bring everything to complete them - can you imagine? You'd have to bring your entire scraproom with you!
I was so happy to find this die for these streamers since they are perfect for finishing this layout spread and I can see myself using it a lot for more!
Watch the video on how I completed the title & sparkly embellishments using the Cricut, Sizzix die cut machine and circle punch!
The base of the layouts were created before I started assembling the album for my nephew and his bride. I bought the patterned paper pad from Hobby Lobby and the paper matches perfectly with their Navy & Orange color scheme. (you can scroll back to see more layouts of the wedding)
Most of the flowers are from Design Space as well as the Mr. & Mrs. title. Glitter paper is from CutCardStock and the streamer die did not have a name but I purchased it from the Stamp & Scrapbook Expo in March from Tall Mouse. I was so excited to find it! Of course I can make this with the Cricut but with the fine "strings", it can be hard to do.
If you peek at my blog or any of my social media accounts, you know that I create all sorts of crafty things. If asked, I would say paper crafting is my fav but I love upcycled projects too! The thrill of making something different is so cool. I love it!
With that in mind, I hope you like this upcycled project as much as I do. I had these three trays in my craft room for who knows how long. If I'm being honest, I don't even know where they came from! I decided to upcycle them by spray painting them white/black and adding some vinyl.
Before I did that, I cleaned each tray with soap & water and lightly sanded them before spray painting.
All designs were created in Cricut Design Space. Although I don't partake or celebrate 420, I do have some family that do so I made these especially for them. Whether they use the trays as intended or as a decorative piece to hang, it's up to them.
Watch the video as I give advice on weeding (no pun intended) out the skinny lines of the Taurus design.
Using sketches is one of the best things when you're experiencing a creative block. I love this sketch from Sketch n Scrap because even though it has the horizontal line for photos, you can easily turn it to accompany vertical photos - like I did!
Now, this can be neat and tidy like the sketch or I could really mix it up and create something completely different but somehow be inspired by this sketch. I pretty much followed the sketch with the exception of turning it on it’s side.
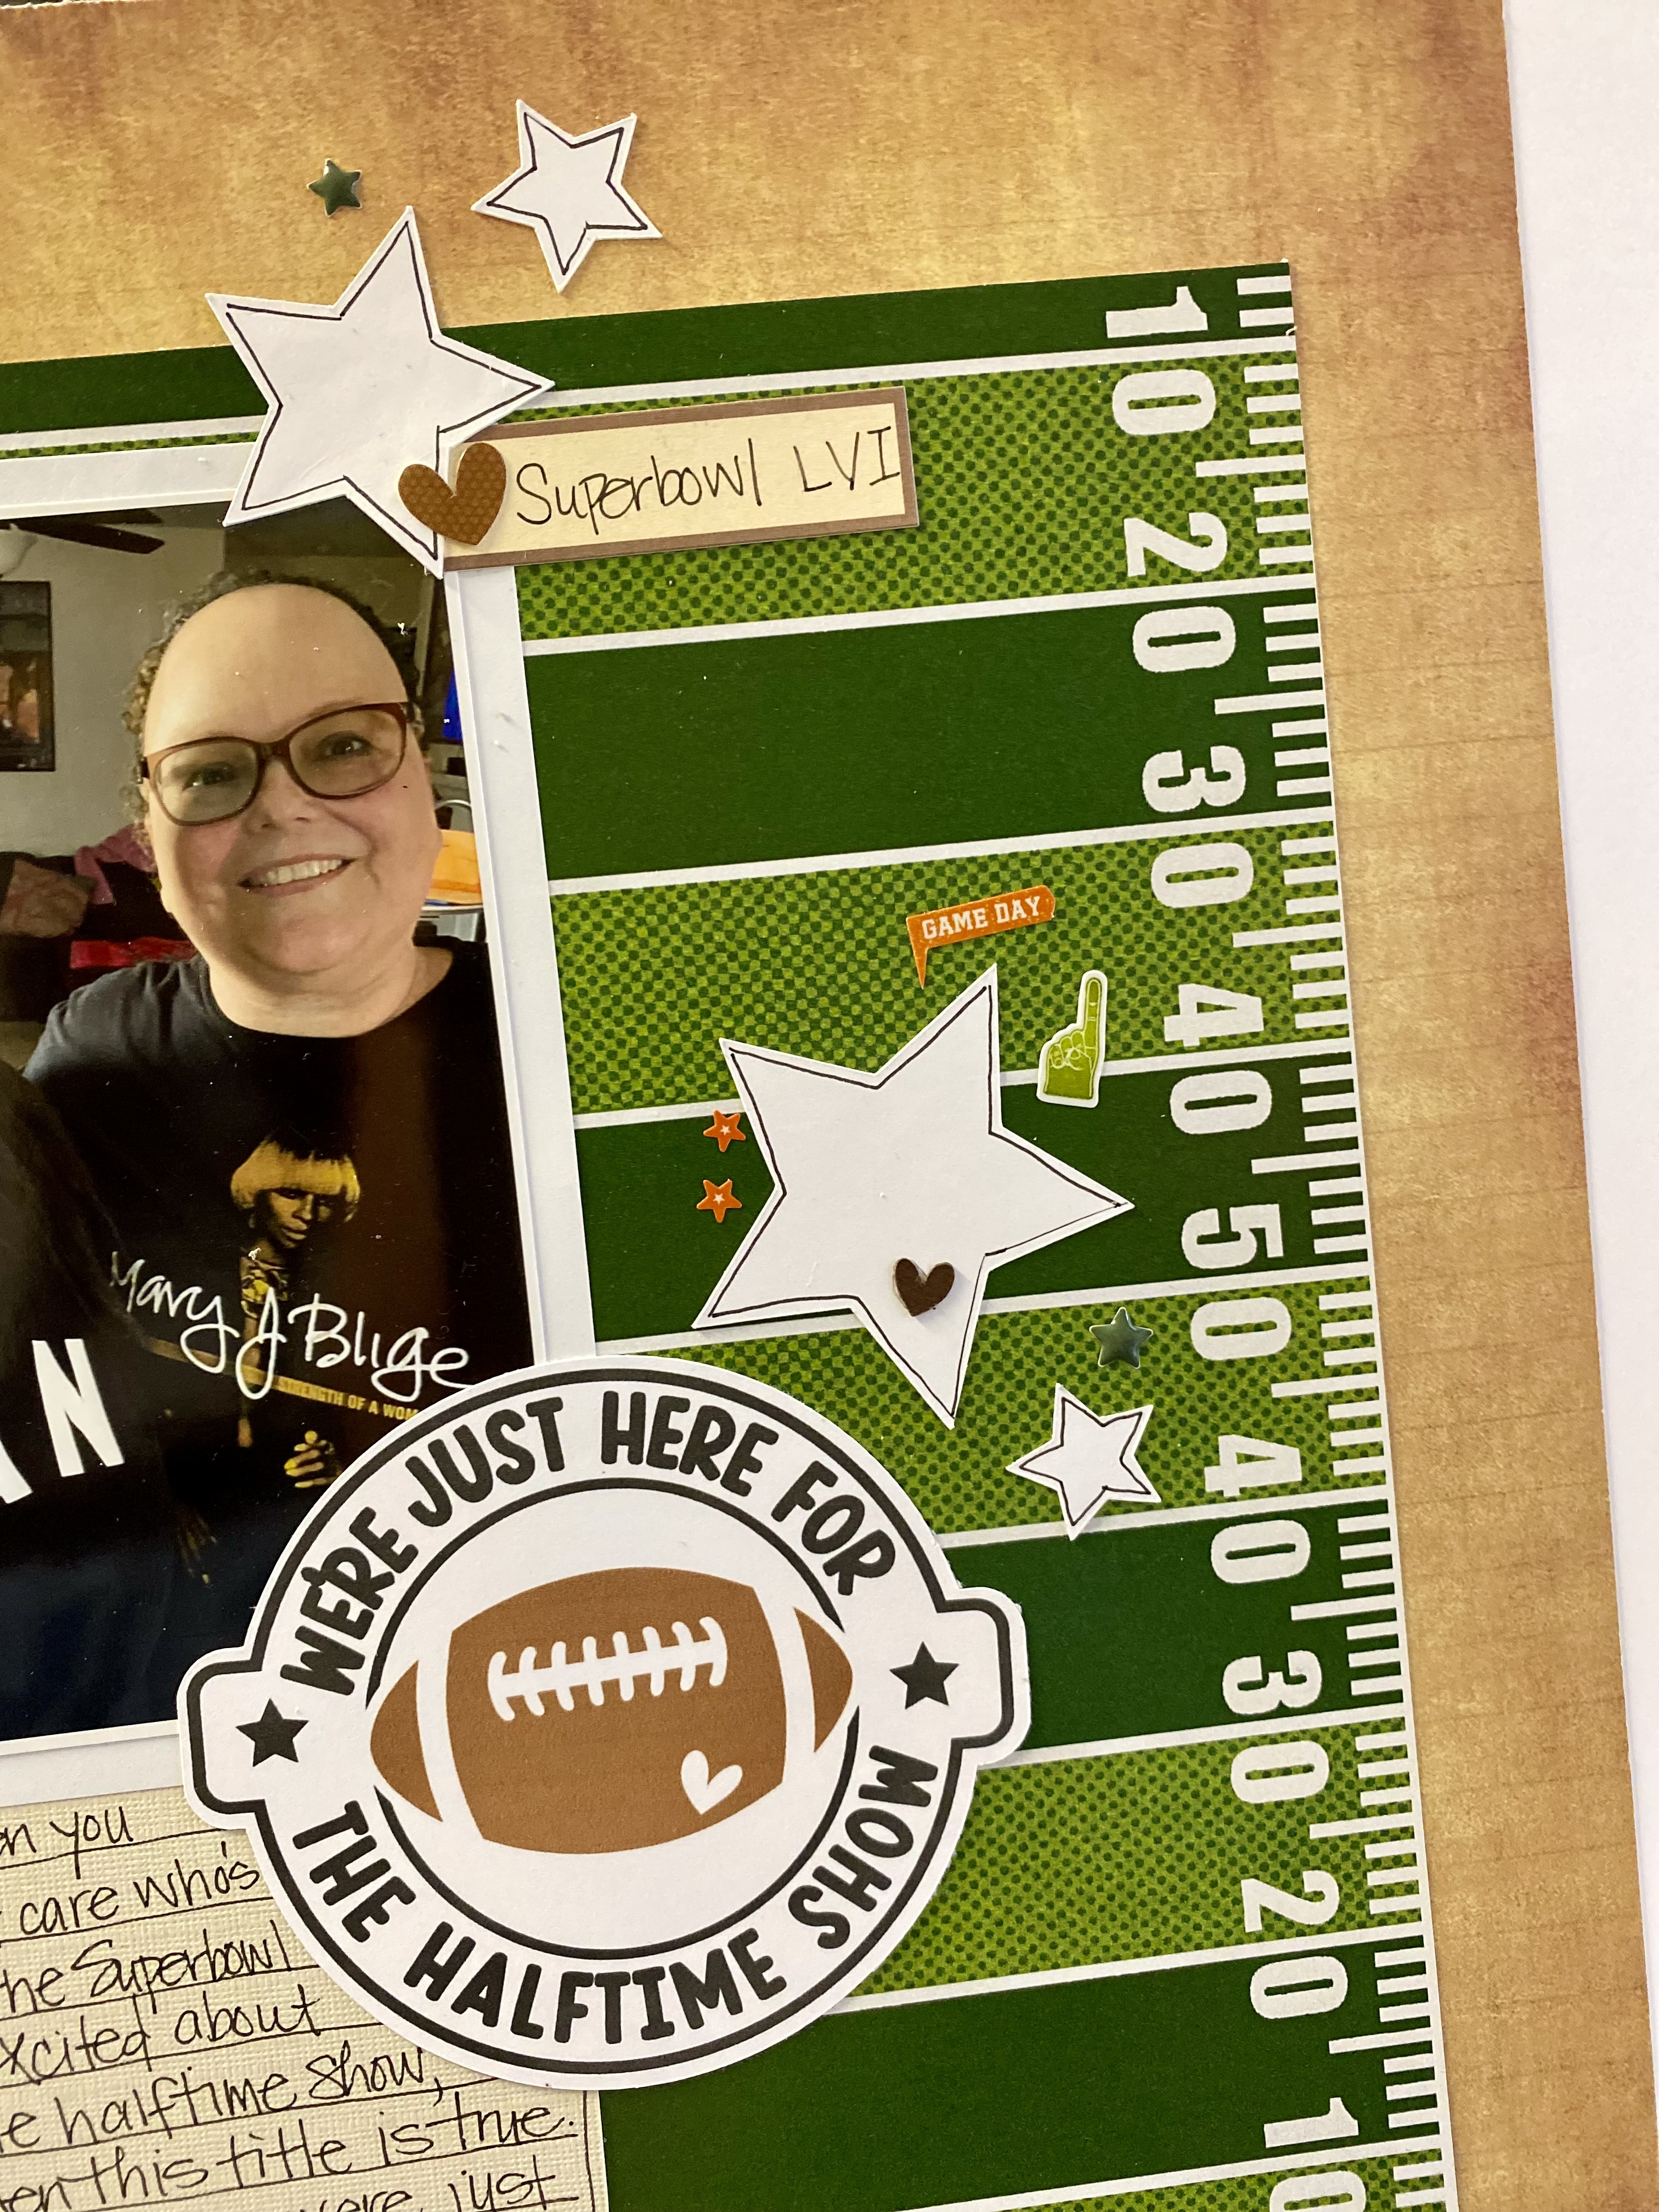
I scrapbooked this one photo that my daughter and I took during the 2022 superbowl. We didn’t care about the teams but were looking forward to the halftime show!
I gathered football papers and created the title on my Cricut using the print/cut function. The stars were also cut using the Cricut.
Watch the YouTube video to see how this was put together.
Cutting Dimensions:
Tan football word tone on tone paper was cut at 7x12"
Football laces at 4x12"
Football field is approximately 5x9"
I used the Print then Cut function on the Cricut for the title
Stars were cut with the Cricut as well as the banner shape.
TGIF and Happy Thankful Friday! This week I am thankful for the weather. It's a beautiful Spring week with temps in the mid to high 70's. Hubby put up a new canopy in the backyard; the plants are blooming and we're spending more time outside.
We spread some wildflower seeds in a planter box so hopefully they start to grow since so far none of the seeds that I planted are growing - with the exception of the cilantro. I'm very excited and thankful that they are sprouting because my son always told me to plant some. He said they were easy to grow AND of course, we'd use them.
The giant pumpkin plant is still alive and there are blossoms on it. Crossing my fingers that we get one for Halloween. I don't think it's getting enough sun, but we'll see.
How about you? What are you thankful for this week? Let me know in the comments!
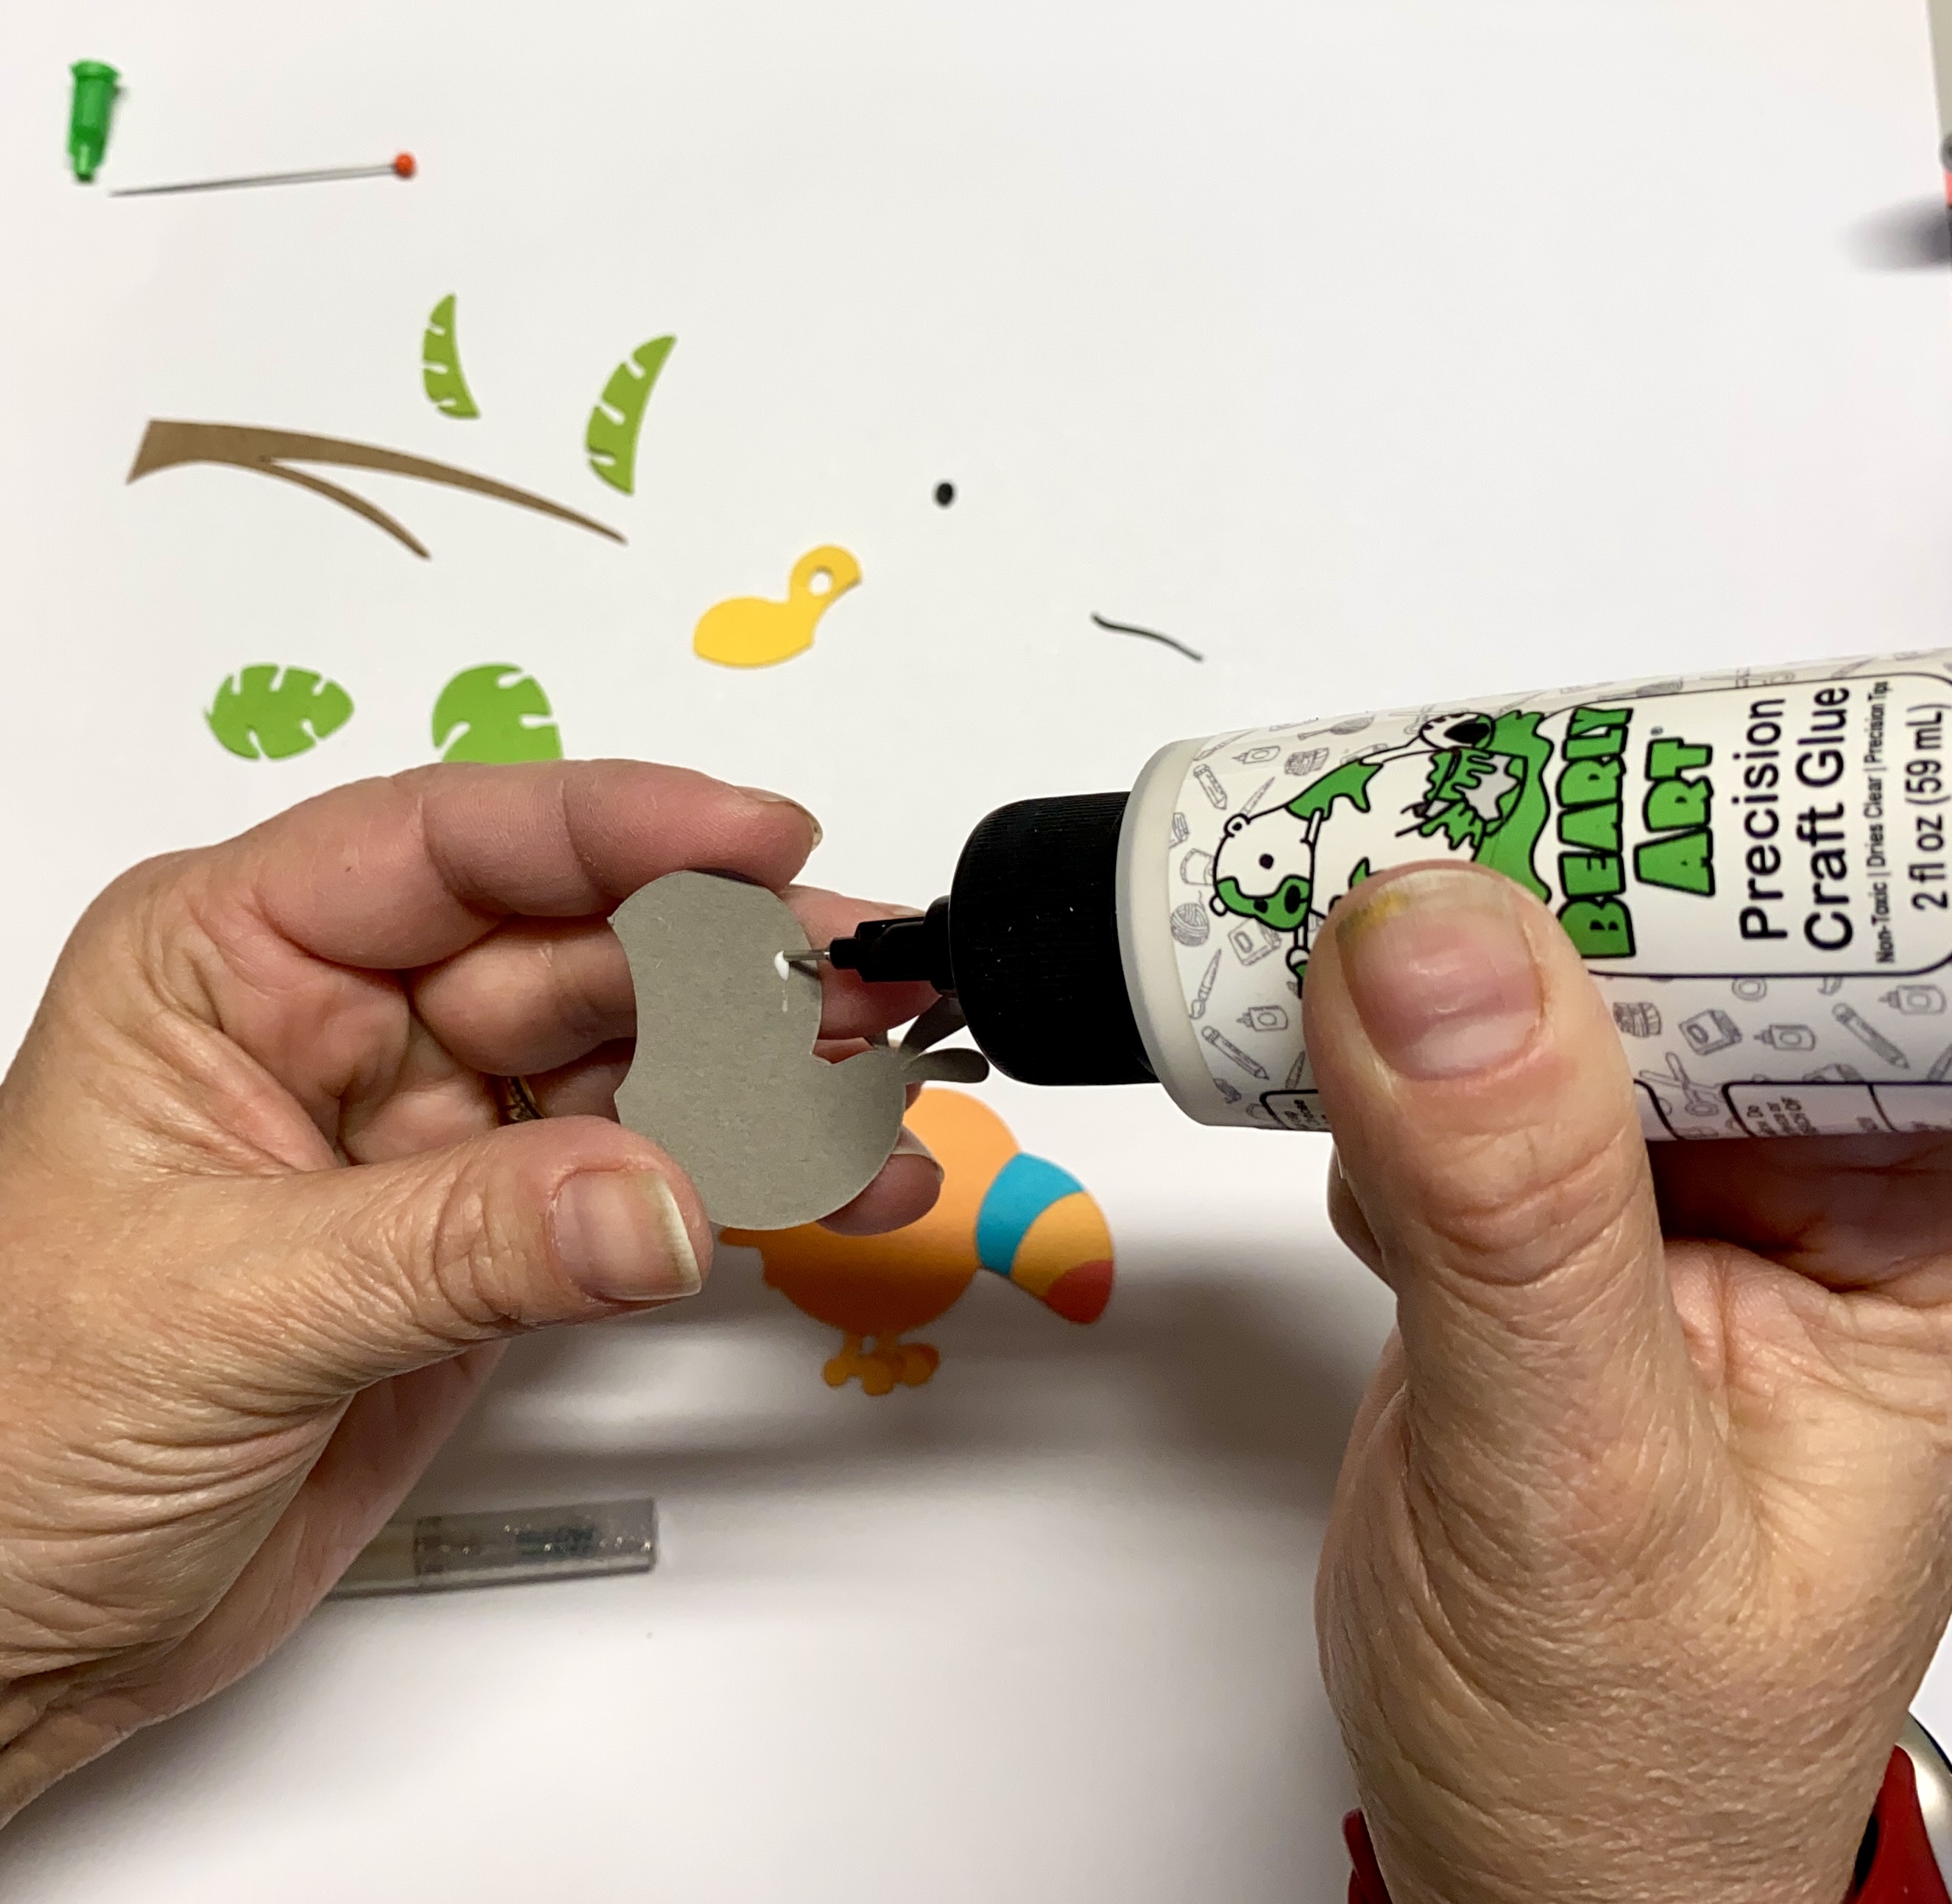
Once all the pieces for the toucan were cut, I layered them before adding adhesive. I like to do this to avoid putting adhesive on the wrong side and to know where to place the pieces. This is especially helpful when there are tiny pieces.
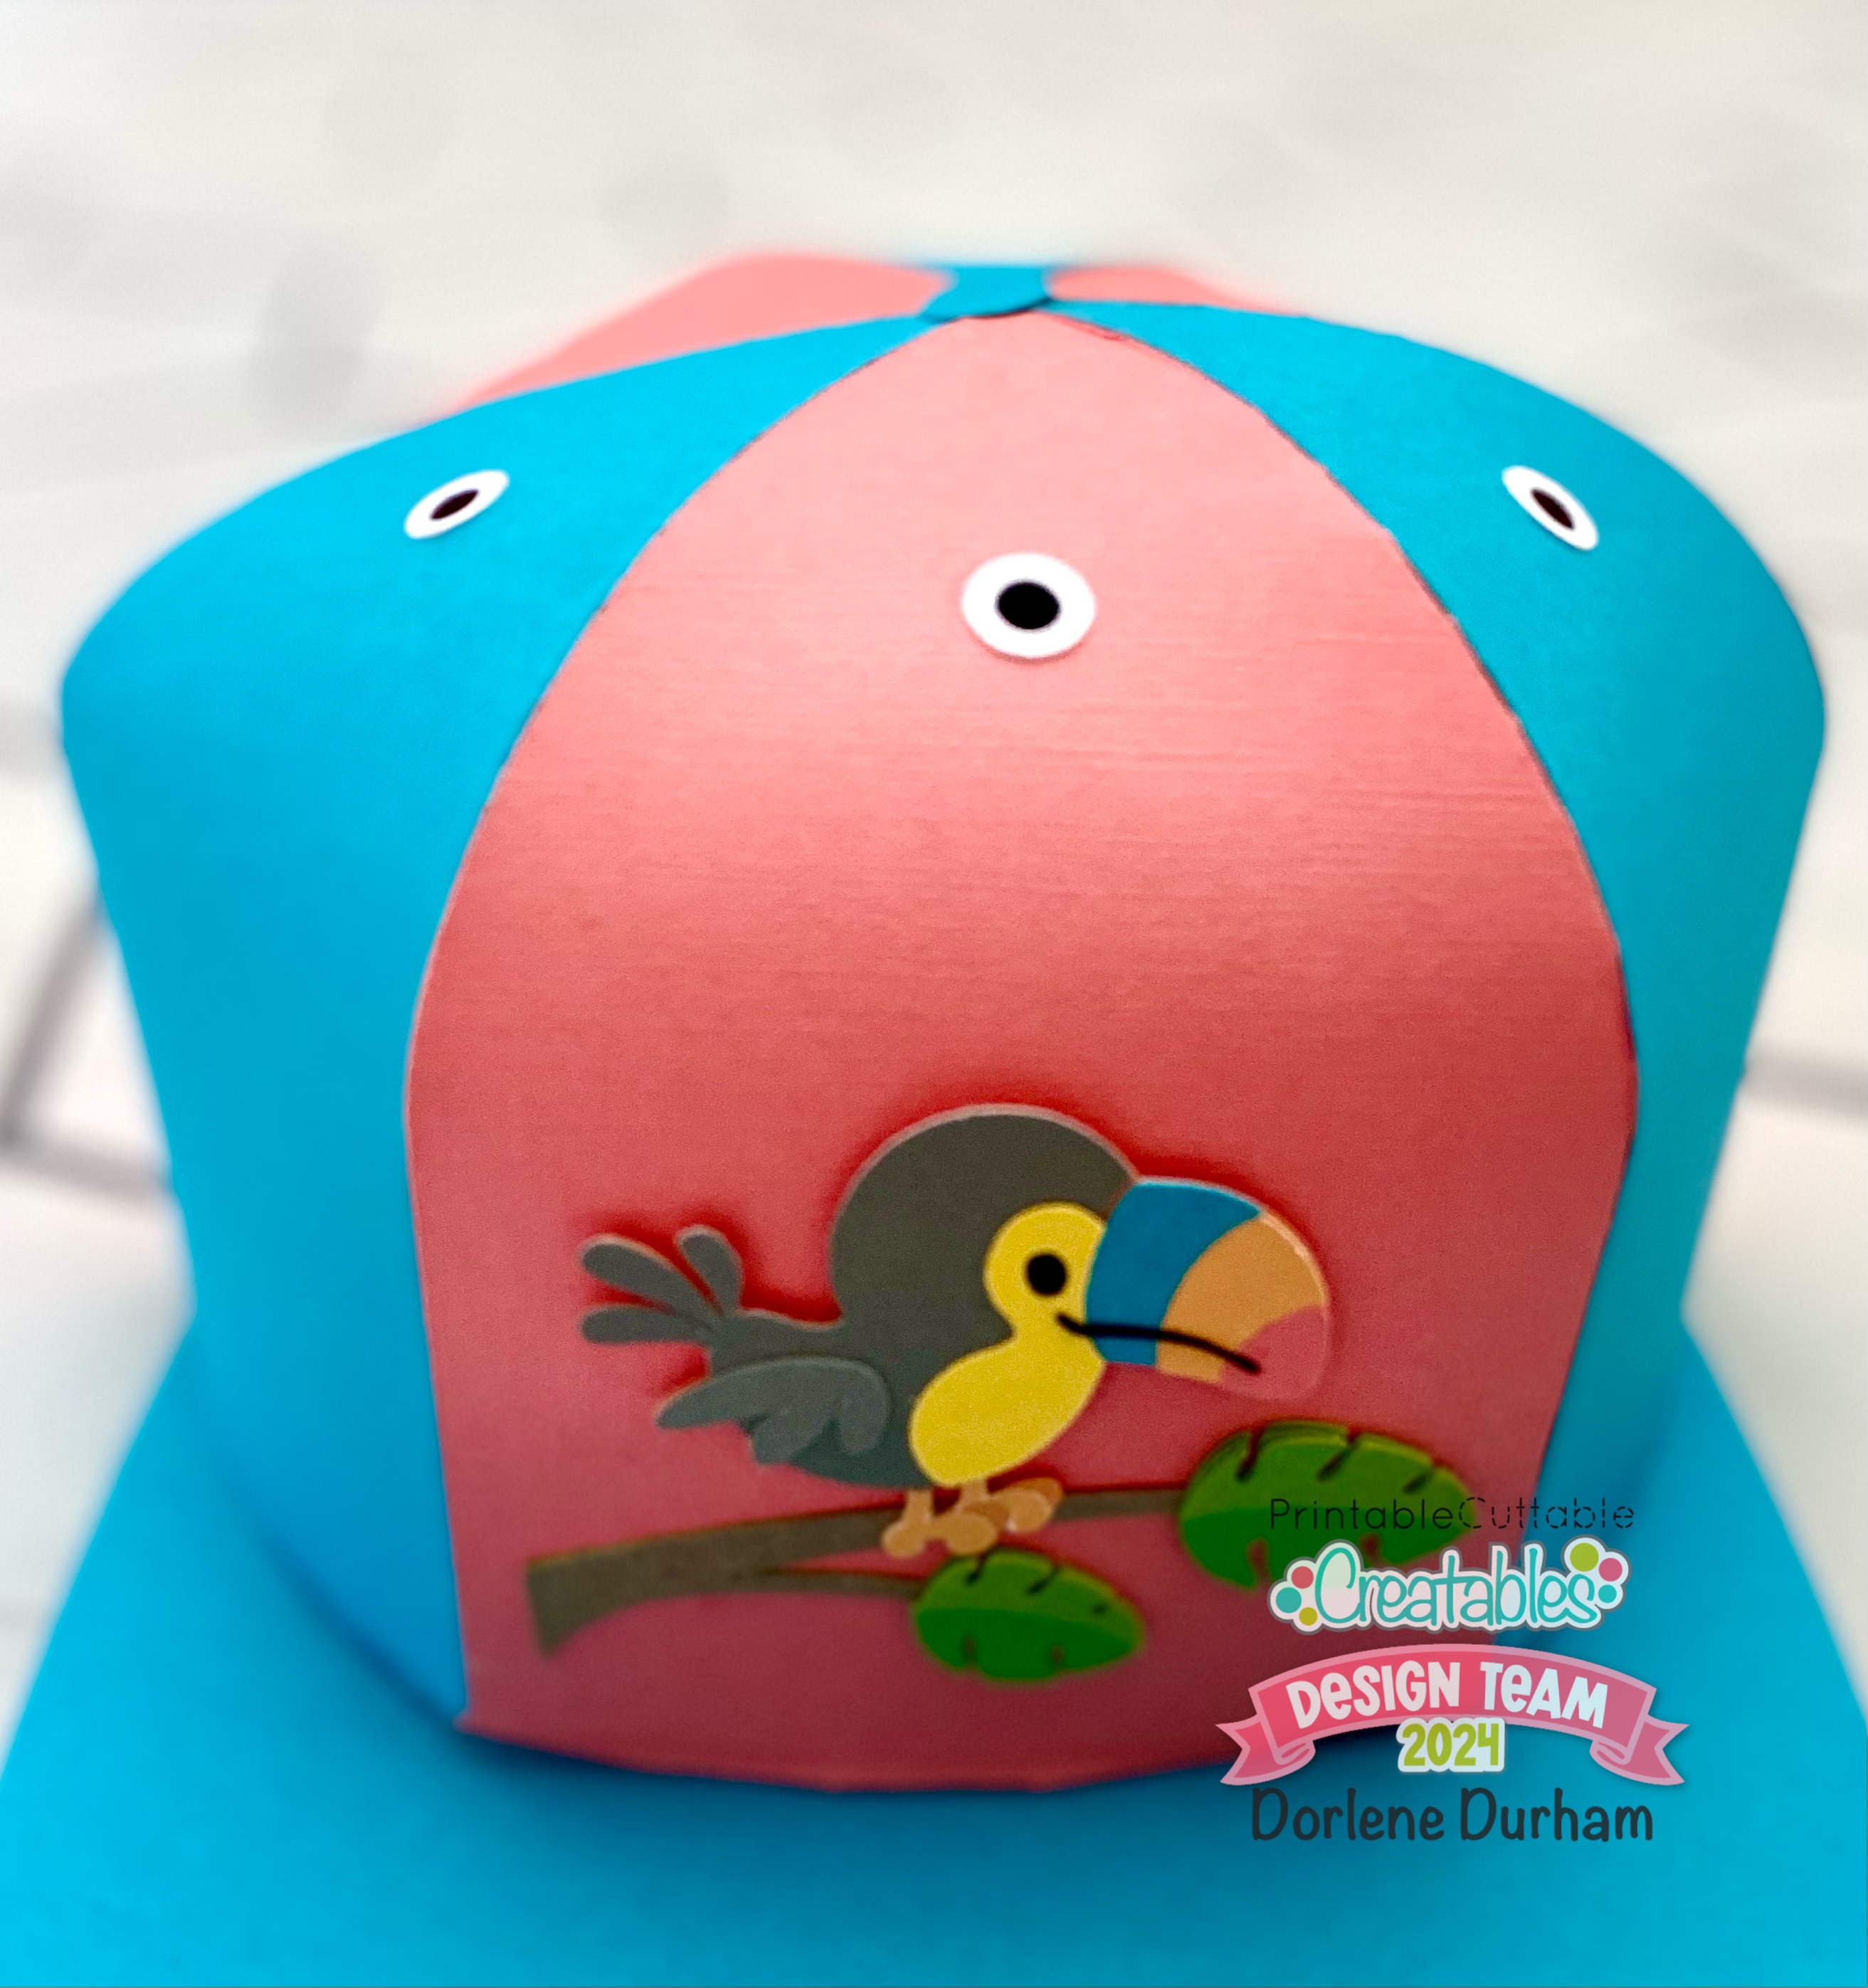
I used liquid glue with a fine tip to get to those small pieces! Once the cap was assembled and the toucan, I used dimensional adhesive and more liquid adhesive to attach it to the cap front.
Some close ups and different angles:
Be sure to go to the PCC blog for lots of inspiration and to the website for amazing cut files! Use 3SONS15 for 15% off your purchase.
This is a pink on pink on pink card and I love it! What a great way to recognize your bestie than giving her a Lucy & Ethyl inspired card! I stamped & colored the images with alcohol markers and added some white gel pen marks here and there.
I love the idea of them taking a selfie specially since that was definitely not something that someone would have done back then. Can you image, Lucy taking some wacky ones!
This card was created using random stuff on my desk - yes, this is another card from the Card Making Frenzy Series on YouTube. Make sure you check out the video: