I cut thin strips of cardstock scraps and wove them together to create a "rug" of paper. The problem with the end result was that I really didn't take into consideration the color combination so it was bright and not really pretty (of course I did not take a photo).
I put a coat of white gesso over the top and then sprayed it with an assortment of color sprays. It came out with a peachy green & brown patina that I really liked. It was too large to put on a standard card so I decided to use it in my junk journal.
I flipped through the journal to find the perfect background for the "rug". Once I found it, I adhered it with double sided tape.
Then I fussy cut some images from the #printprayslay shop along with a bible verse to glue on top of it. (These images were free on their website HERE.)
A place to showcase my crafts and talk about it...what's better than that? I hope to inspire and encourage others to create things for themselves, friends and family.
Tuesday, June 16, 2020
Sunday, June 14, 2020
ICAD 2020; Week 1 & 2
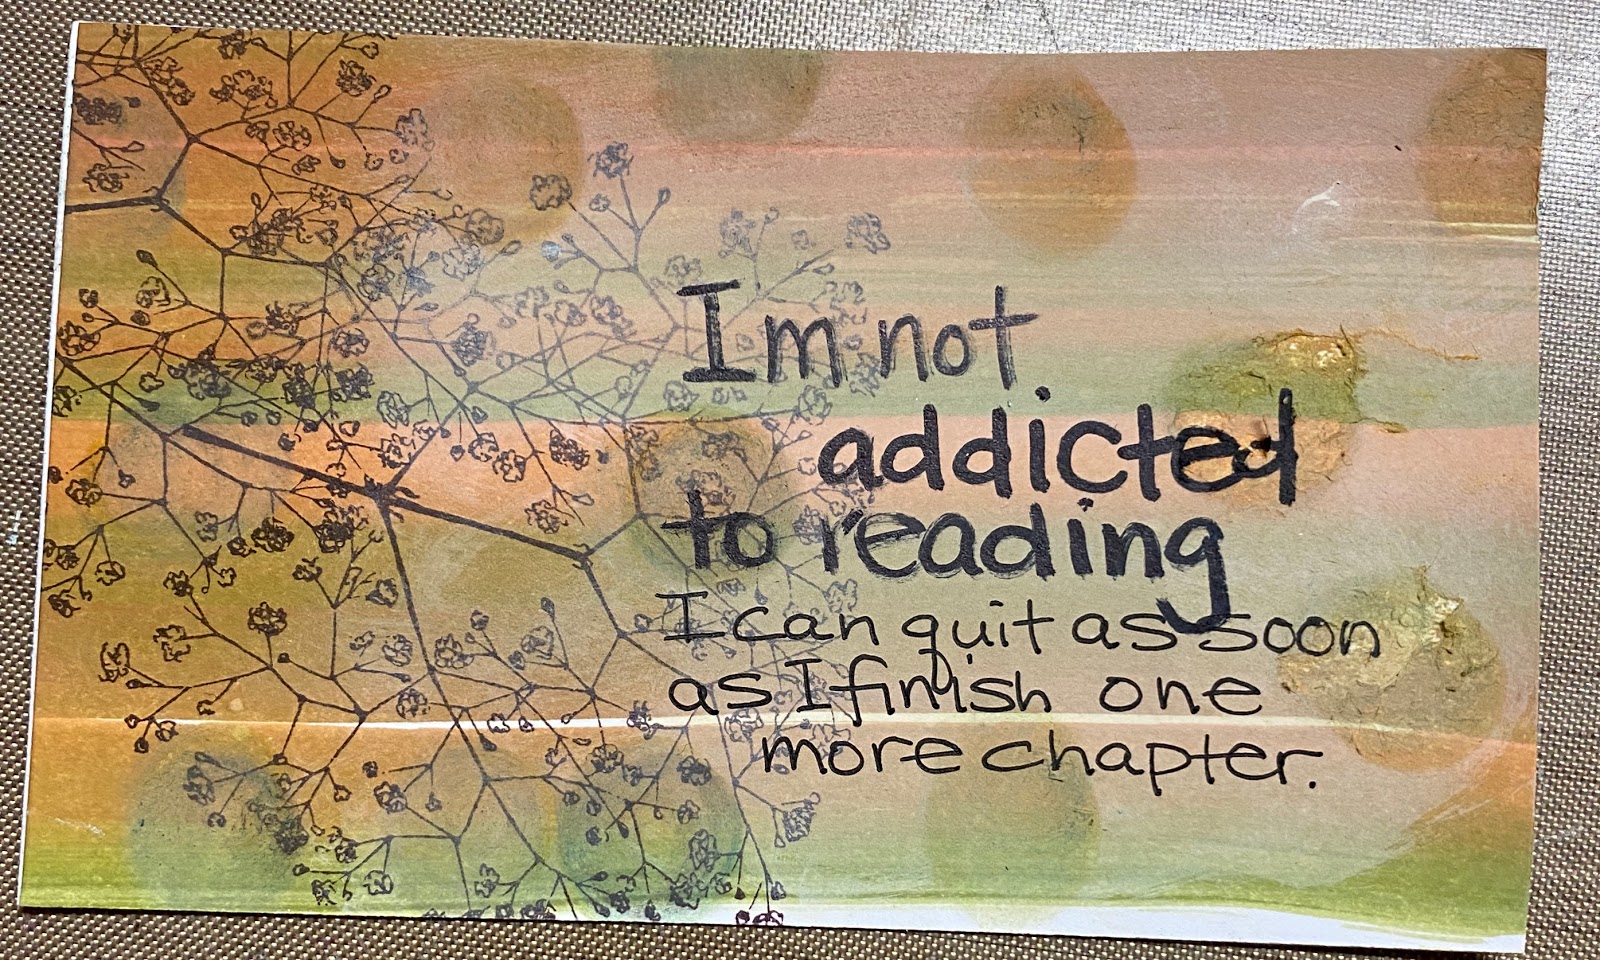
It's that time of the year...the 61 day ICAD challenge. To participate in real time, the challenge is from June 1 - July 31st. But of course you can do it anytime. To see previous index cards I made during ICAD challenges, click on the ICAD label to the right. This is my fourth year participating.
To find the daily challenge prompts, go to Daisy Yellow Art and follow along.
Here are my index cards in order:
Friday, June 12, 2020
TGIF; Thankful Friday #134
Happy Friday!
This week I'm thankful for days off. I took Thursday off work...not intentionally...I turned off my alarm and then fell back to sleep. Hubby came in later wondering if I was going to work and then suggested that I stay home. Yup! That’s what I did.
I needed a Mental Health Day so I took it.
I hope you’re having a fabulous week. Leave a comment and let me know what you’re thankful for this week.
This week I'm thankful for days off. I took Thursday off work...not intentionally...I turned off my alarm and then fell back to sleep. Hubby came in later wondering if I was going to work and then suggested that I stay home. Yup! That’s what I did.
I needed a Mental Health Day so I took it.
I hope you’re having a fabulous week. Leave a comment and let me know what you’re thankful for this week.
Thursday, June 11, 2020
Love RTS Swap; Rainbows & Umbrellas
Hey there, remember back in the day when I was participating in a lot of swaps? Well, that was so long ago and I kinda sorta missed doing them.
When the Facebook group, Love RTS, posted if anyone was interested in a swap, I jumped in with two feet. I missed the first one since I didn't see the post, but I signed up for the second one with the theme...rainbows & umbrellas.
I used this Kindness Is Cool stamp set by Fun Stampers Journey (FSJ)
to create these Faux Polaroids:
When the Facebook group, Love RTS, posted if anyone was interested in a swap, I jumped in with two feet. I missed the first one since I didn't see the post, but I signed up for the second one with the theme...rainbows & umbrellas.
I used this Kindness Is Cool stamp set by Fun Stampers Journey (FSJ)
to create these Faux Polaroids:
Oh my gosh, aren't they super cute? I made extras for myself because I love how cheerful and fun they are!
This is what I did...
- Used a square punch and cutter to create my own "Polaroids". They are approximately 2x2.5".
- Cut up an assortment of blue cardstock scraps and adhered to the back.
- Stamped "smile" on the bottom of each one - some of the right side & some on the left.
- Colored in the rainbow using watercolor markers.
- Used a Glue Dot to adhere a bit of gold thread before adding the rainbow with dimensional adhesive to pop it up.
- The small colorful flat enamel hearts are also from FSJ and came in rainbow colors (perfect!)
- Cut thin strips into fishtail banners using cardstock scraps.
- Plopped a enamel dot to the top of the banners.
We had to make & send 15 of the same item and we received 15 different ones. Fun, huh?! I can't wait to see what I get in return.
Fun Stampers Journey is now sold through Spellbinders. If you're interested in their products, click to their website HERE.
Wednesday, June 10, 2020
WOYWW #575
Happy Wednesday and Happy WOYWW!
Here's my desk today:
Why am I sharing my desk? It's all a part of a world-wide linkage on Stamping Ground blog. She's hosted this linkage for over 11 years!
The bottom left corner is the current book I'm reading for this year's Summer Reading Marathon. If you have any book recommendations, I'd love to hear them.
Also, I'm having a bookmark GIVEAWAY. Click here if you're interested.
Here's my desk today:
Why am I sharing my desk? It's all a part of a world-wide linkage on Stamping Ground blog. She's hosted this linkage for over 11 years!
The bottom left corner is the current book I'm reading for this year's Summer Reading Marathon. If you have any book recommendations, I'd love to hear them.
Also, I'm having a bookmark GIVEAWAY. Click here if you're interested.
Tuesday, June 9, 2020
Junk Journal Page
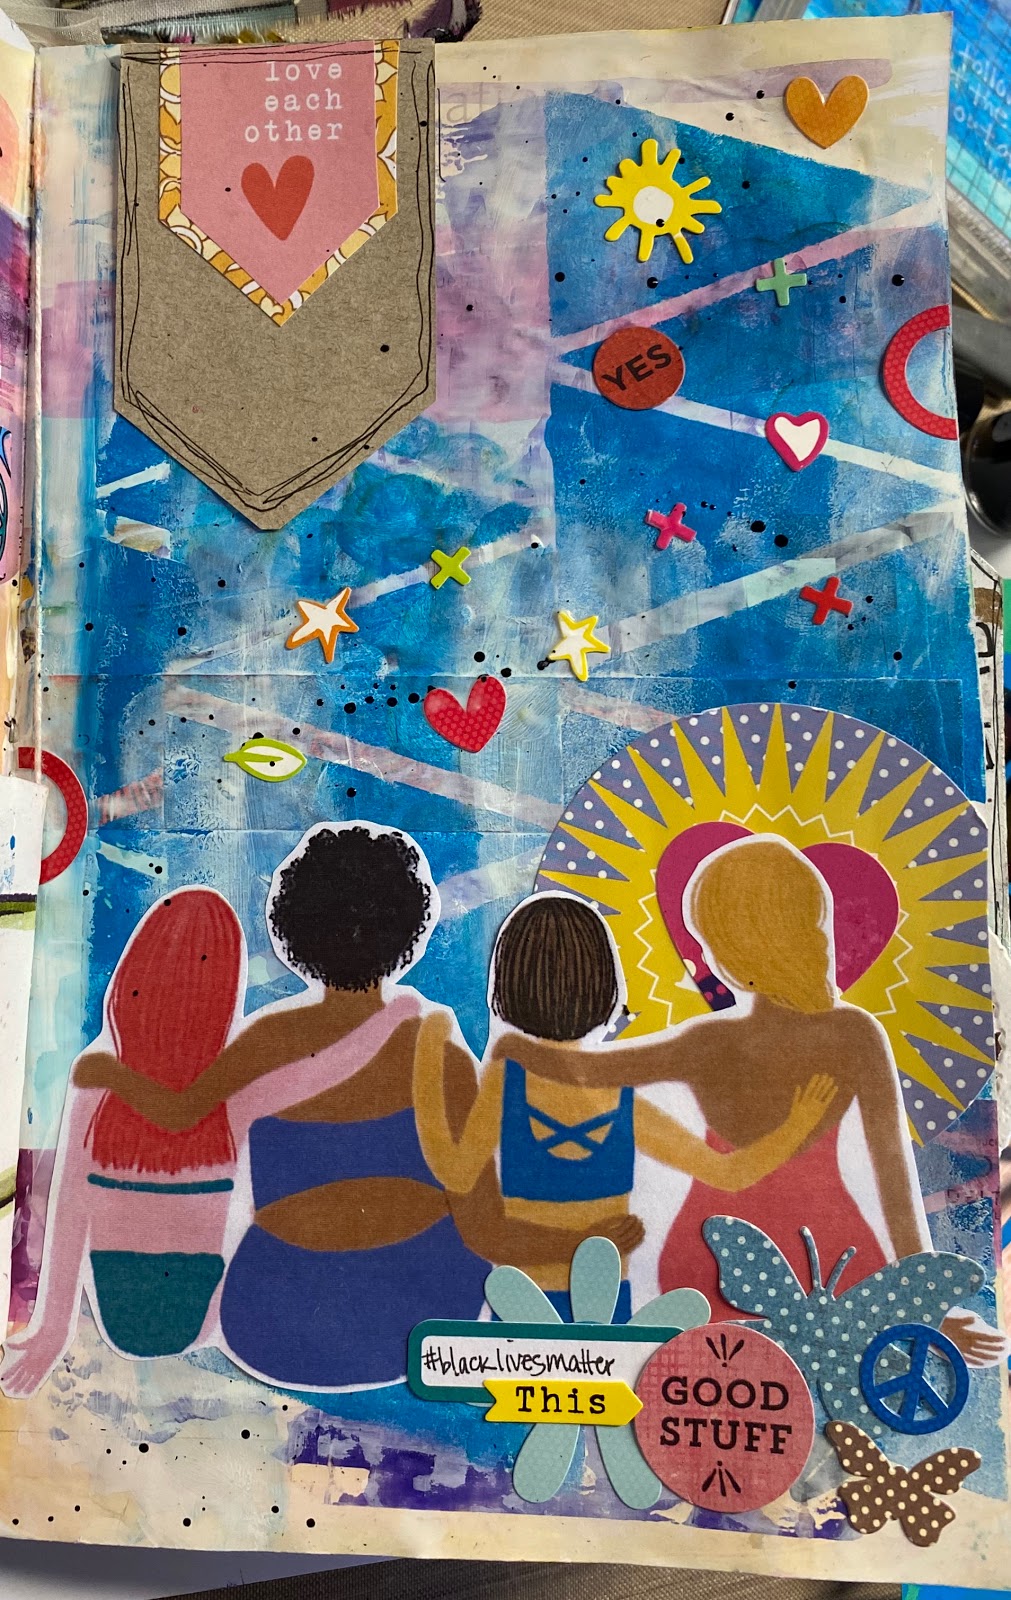
I feel like I should create a journal spread with all that is currently going on in our country.
This is how the page started
I swipe leftover medium on pages in the Junk Journal so I rarely start with a blank page. The first thing I did was paint white gesso over the entire page.
This is how the page started
I swipe leftover medium on pages in the Junk Journal so I rarely start with a blank page. The first thing I did was paint white gesso over the entire page.
Then I dug out a stencil that I saved when I cut out a multitude of triangles and added blue acrylic paint with a sponge.
I felt like it was too bright so I toned it down with white acrylic paint scraped on with a spatula
I knew I was using the group image which is from a free image from Illustrated Faith and to add to it, I went through my sticker book and pulled a bunch of random stickers and labels that I thought would coordinate.
I added some Modge Podge over the stickers to add extra adhesive and added a banner to the top left corner.
I wanted you guys to see the tiny sliver of space I actually had to create the spread. I get caught up in supplies and tools. I added some black splatter to finish the page.
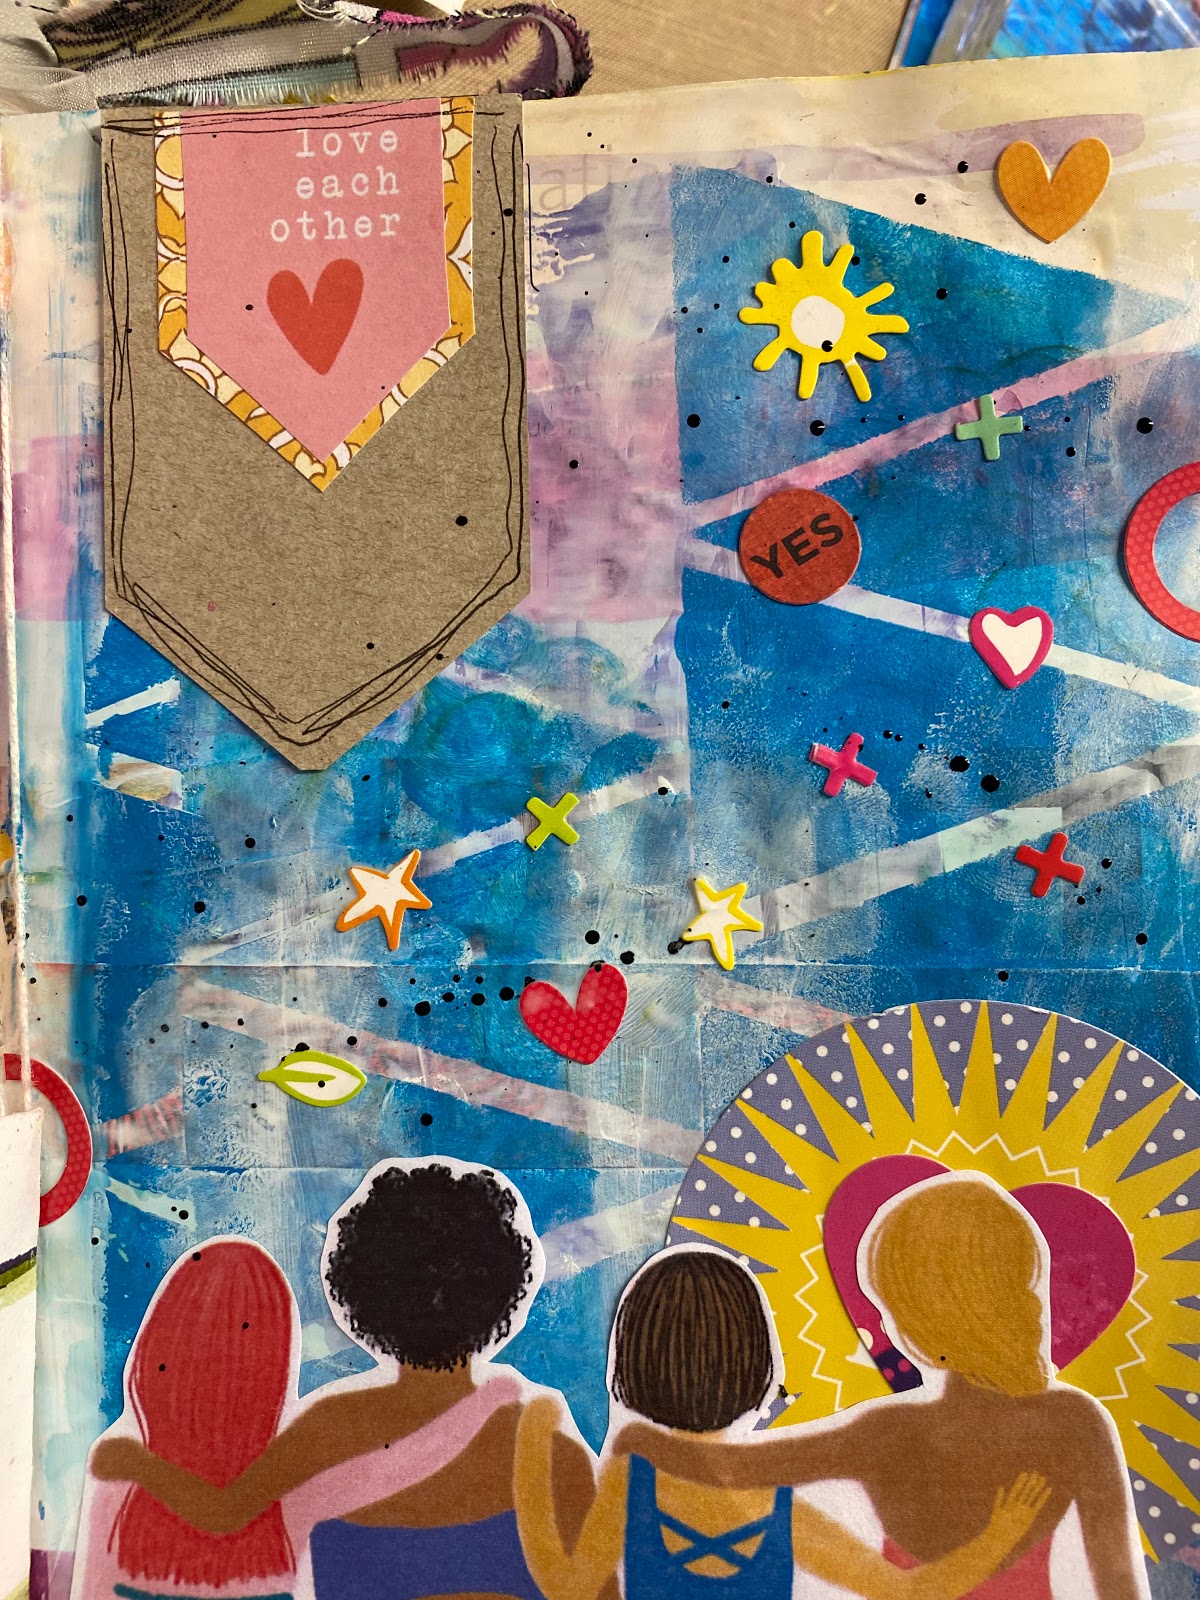
Close up of the sticker splatter!
There’s a pocket on the other side and I’ll write more of my thoughts to slip in there.
Be sure to get your free printable from Illustrated Faith if you’re interested. To see more of my junk journal spreads, click on the "Junk Journal" label to the right.
Monday, June 8, 2020
BBTB2 Wedding/Anniversary Challenge
Hi there! Click on over to the BBTB2 site to participate in the current challenge which is wedding/anniversary.
I'm "attending" a Facebook live wedding ceremony in August so I tried to come up with something clever for the card. Thanks to a free cut from lovesvg, I was able to come up with this...
This SVG started like this:

Champagne Glass #M9192848 and Vines #MA9DF128
Both of these are free if you subscribe to Cricut Access.
Originally, the card was just the sentiment, but it really wasn't pretty for a wedding card. I knew it needed something. I searched for flowers and flourishes in DS to find something to embellish the card front. It's such a small addition but it makes such a big difference and I really like the champagne glasses in the inside of the card.
This SVG started like this:
and I ungrouped, duplicated, sliced and contoured it for the final sentiment you see on the card. I didn't need a birthday card, I needed a wedding card!
I love that you can customize your cuts in Design Space for what you need. I used the following cuts from Design Space:Champagne Glass #M9192848 and Vines #MA9DF128
Both of these are free if you subscribe to Cricut Access.
Another view of the card with a peek at the inside:
Originally, the card was just the sentiment, but it really wasn't pretty for a wedding card. I knew it needed something. I searched for flowers and flourishes in DS to find something to embellish the card front. It's such a small addition but it makes such a big difference and I really like the champagne glasses in the inside of the card.
You can't see the sparkle, but I brushed shimmer over the vines & glasses.
Since the image was pretty large, I created a 5.5 x 5.5" square card - I don't normally make square cards, but I was gifted a bunch of square envelopes so I may as well use them!
I can't wait to see what you create with your Cricut and the current challenge theme. Click on over to BBTB2 and link your project!
Since the image was pretty large, I created a 5.5 x 5.5" square card - I don't normally make square cards, but I was gifted a bunch of square envelopes so I may as well use them!
I can't wait to see what you create with your Cricut and the current challenge theme. Click on over to BBTB2 and link your project!
Subscribe to:
Posts (Atom)